Facsimile title page. Replace marbled endpaper
This article is about the creation of a facsimile title page for a book that I restored. The spine was rebacked and a missing marbled endpaper was replaced with a matching contemporary leaf.
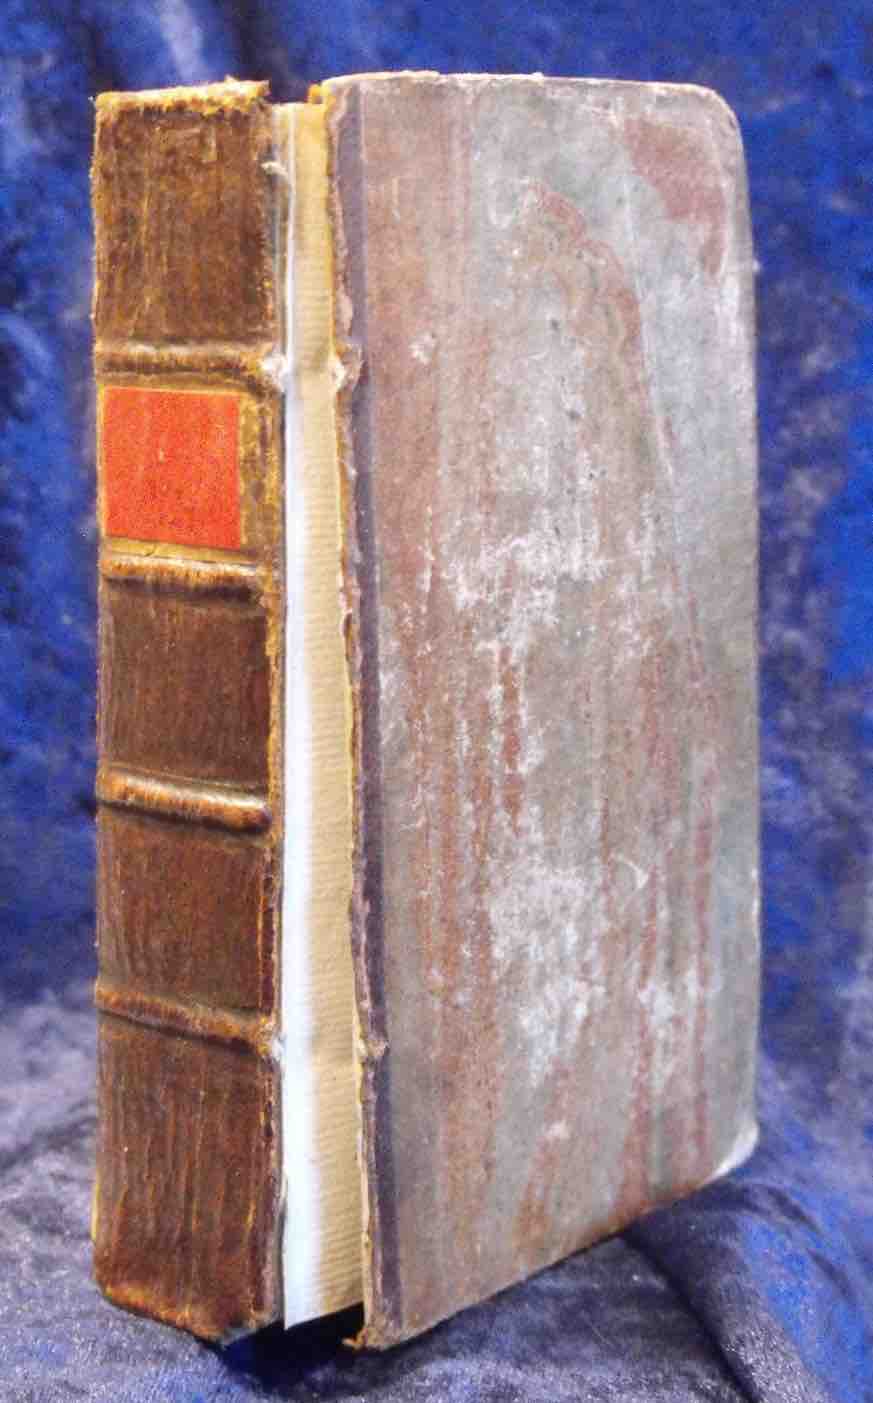
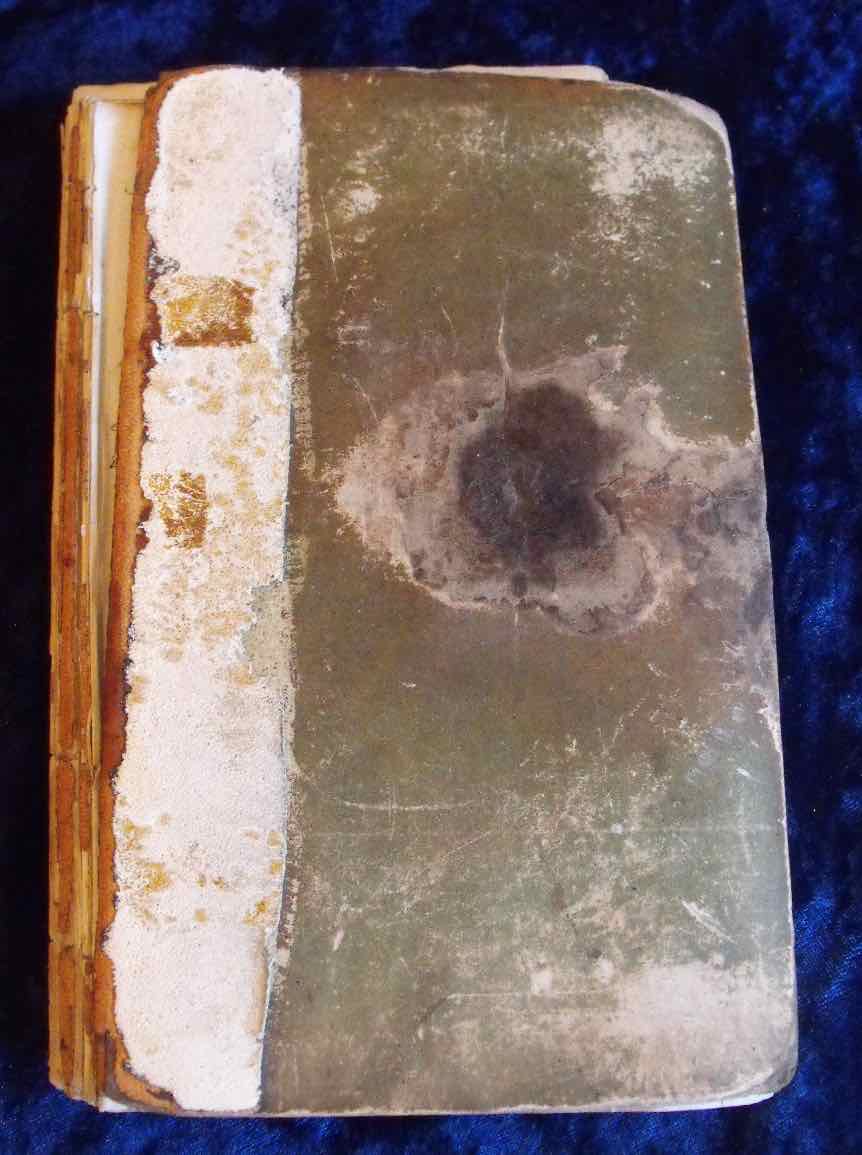
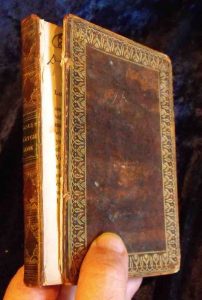
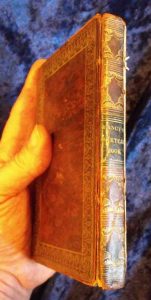
This leather bound children’s novel from the early 19th century had seen better days. Presumably, this was as a result of much ‘enthusiastic’ use by previous young owners. Unusually for a children’s book, it was attractively bound in a contemporary leather binding with lavish gold tooling. The binding also had marble paper endpapers.
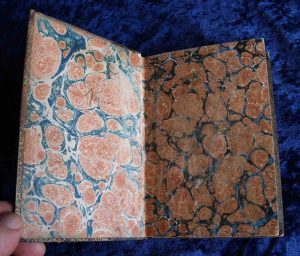
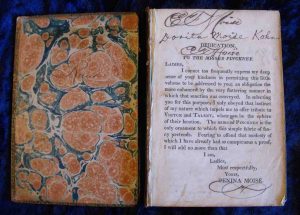
The front cover of the binding was detached and the front free endpaper had been lost. This left its marble paper counterpart pasted onto the inside of the front cover.

Missing title page
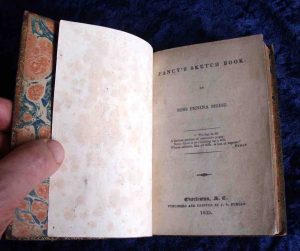
Sadly, and no doubt as a result of the front cover becoming detached, the book’s printed title page was now also lost. This left the dust-soiled and finger marked dedication page as the first page to greet the eye.
Removing the spine
The first task was to remove this little book’s pretty spine intact. It was an integral part of the original binding and not an easy design to replicate. Fortunately, patience and a steady hand enabled me to slowly but surely prise the frail spine from the text block. I breathed a huge sigh of relief once I’d put the spine aside for later re-use, still in one piece.
Creating the facsimile title page
The book’s owner was able to locate and forward to me a high resolution scan of the missing title page. This was taken from another copy of the book. Consequently, I next turned my attention to producing a reasonably faithful facsimile of the lost title page to insert into the book.
Firstly, I digitally ‘cleaned up’ the scan to remove unwanted marks including an old library stamp. I then dug through my collection of old paper to find a sheet to use for the facsimile title page. Eventually, I found a sheet that closely matched the paper used in the book both in weight and tone. After having made a couple of test prints onto modern paper, I printed out the title page onto the old sheet.
The finished result
Once inserted and trimmed to the correct dimensions, the ‘new’ title page sat comfortably with the rest of the book. It was obviously a facsimile as I’m not in the business of producing forgeries! But it didn’t look at all out of place or ‘wrong’ in this old volume.
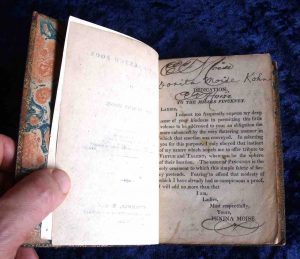
Older facsimile title page and text page production techniques
In the past, these kinds of facsimile pages were reproduced from photocopies and printed onto bright white photocopy paper. Digital technology and the selection of an appropriate paper stock to print onto, allows better results to be achieved. It’s now possible to produce facsimile pages that are much more in keeping with the lost pages that they replace.
The spine reback reusing the original spine
Next, the book was rebacked in calf of a similar colour to the original binding. This created a new spine and reunited the covers with the text block. The original spine was mounted onto the new one leaving little of the new leather visible. Finally, I ‘tooled-in’ a couple of gold lines that were missing from the original spine to complete the spine repair.
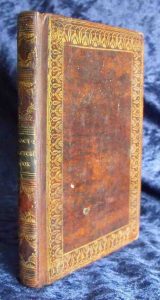
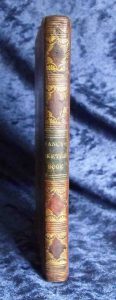
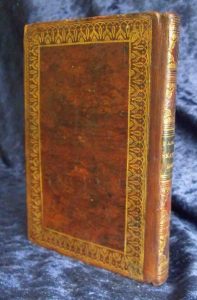
Replacing the marbled endpaper
Finally, I turned my attention to the missing front marbled endpaper. I keep a large collection of old marble paper sheets and so I went through these to find a replacement. Fortunately, I found a sheet of nearly identical marble paper which I used to create a replacement flyleaf. Once inserted, I trimmed it to the dimensions of the text block, completing a very satisfying restoration.
