Book restoration of John Constable’s notebook
This article is about a book restoration carried out on a notebook owned by the artist John Constable.
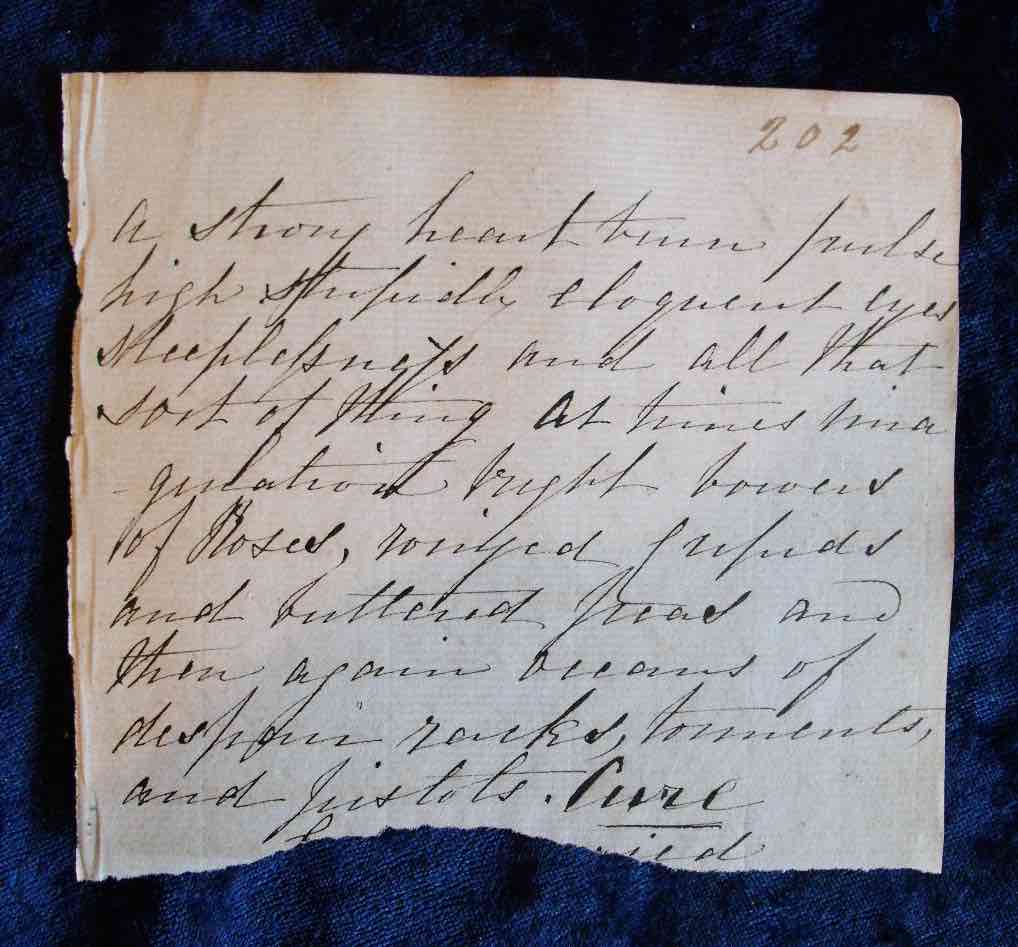
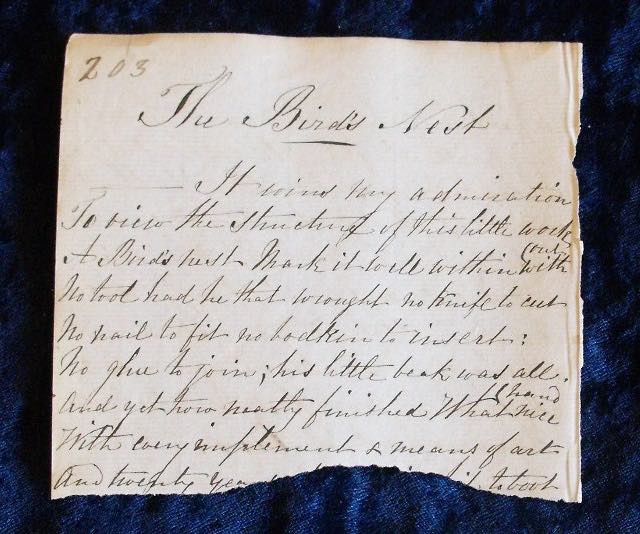
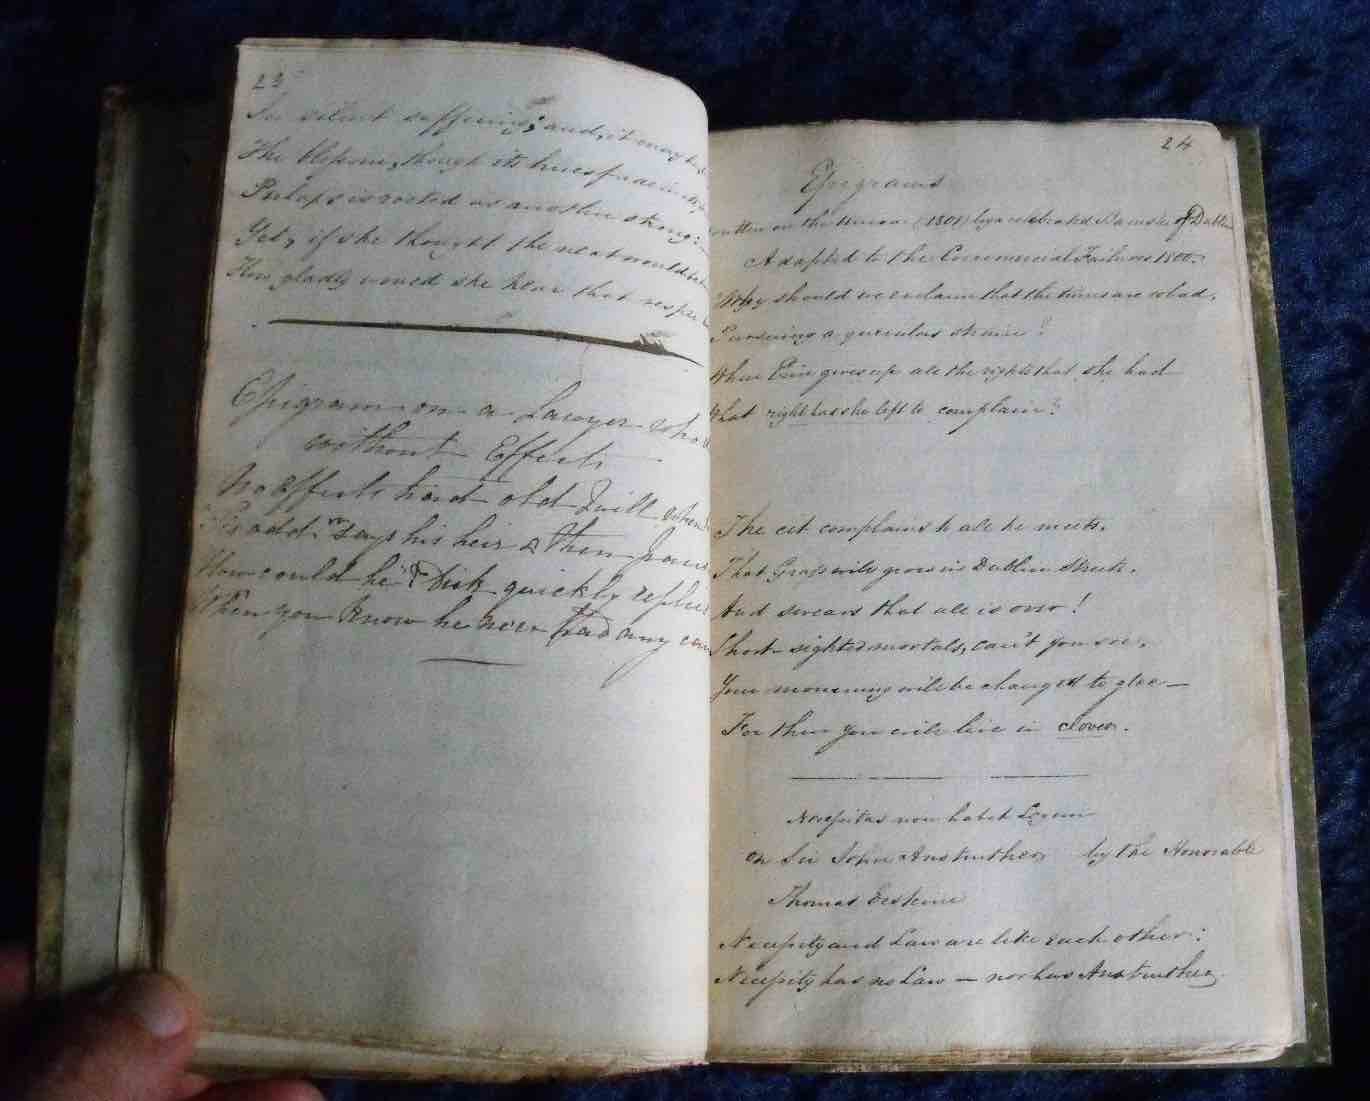
One of the most absorbing projects that I’ve worked on recently is the book restoration of a 19th century notebook. This book of handwritten notes was reputedly owned and compiled by the artist John Constable.
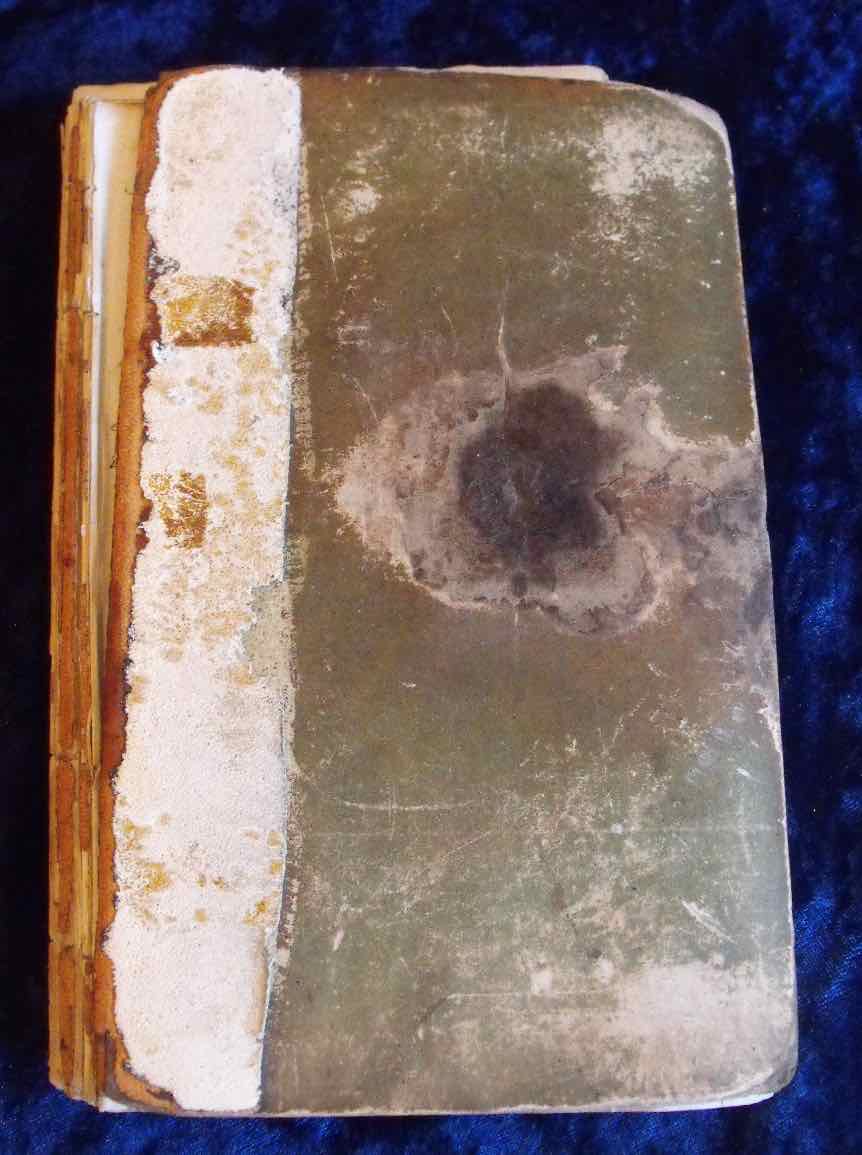
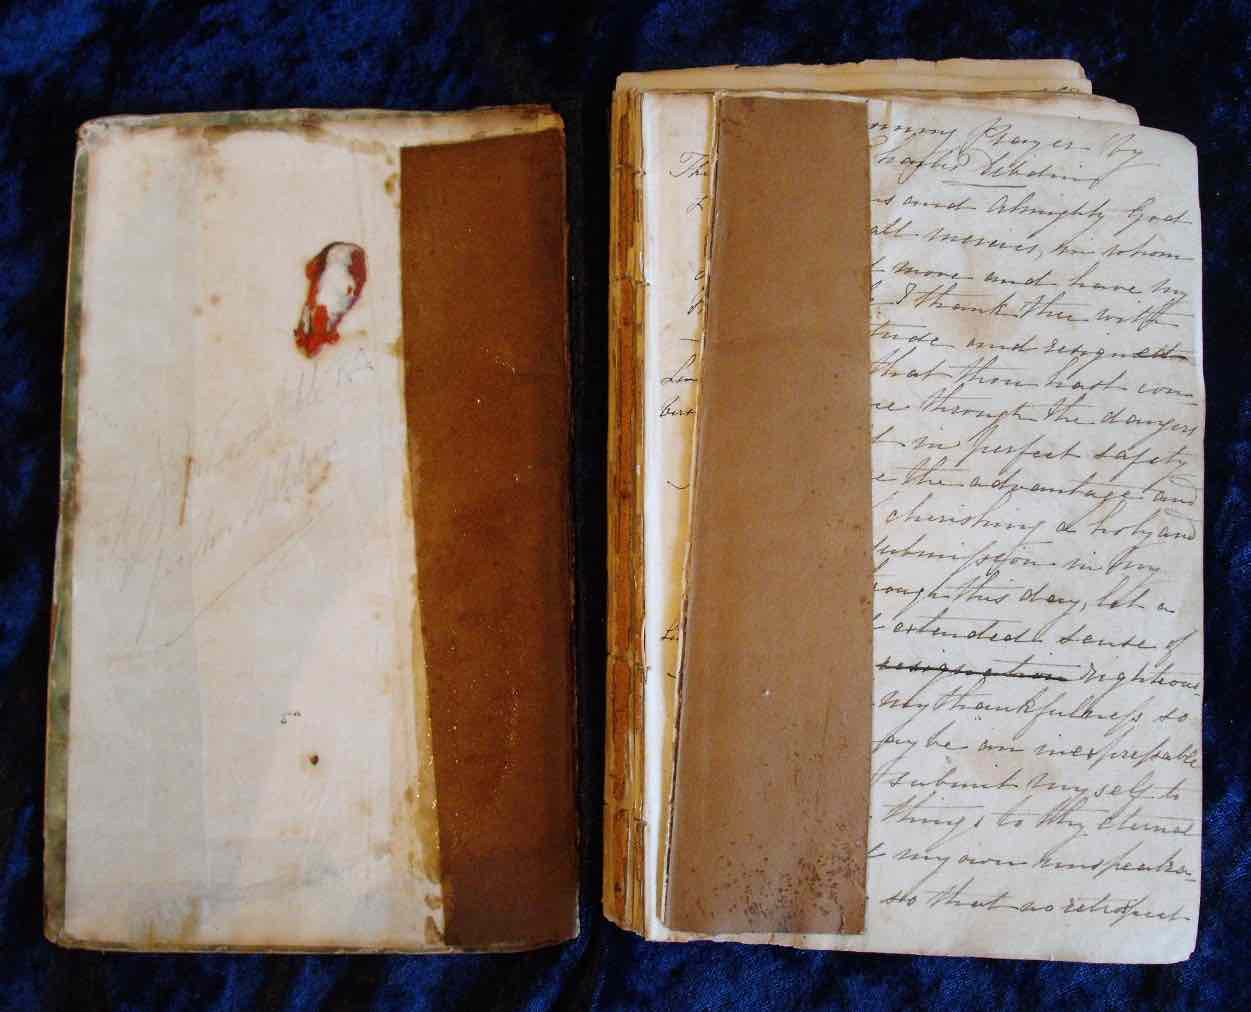
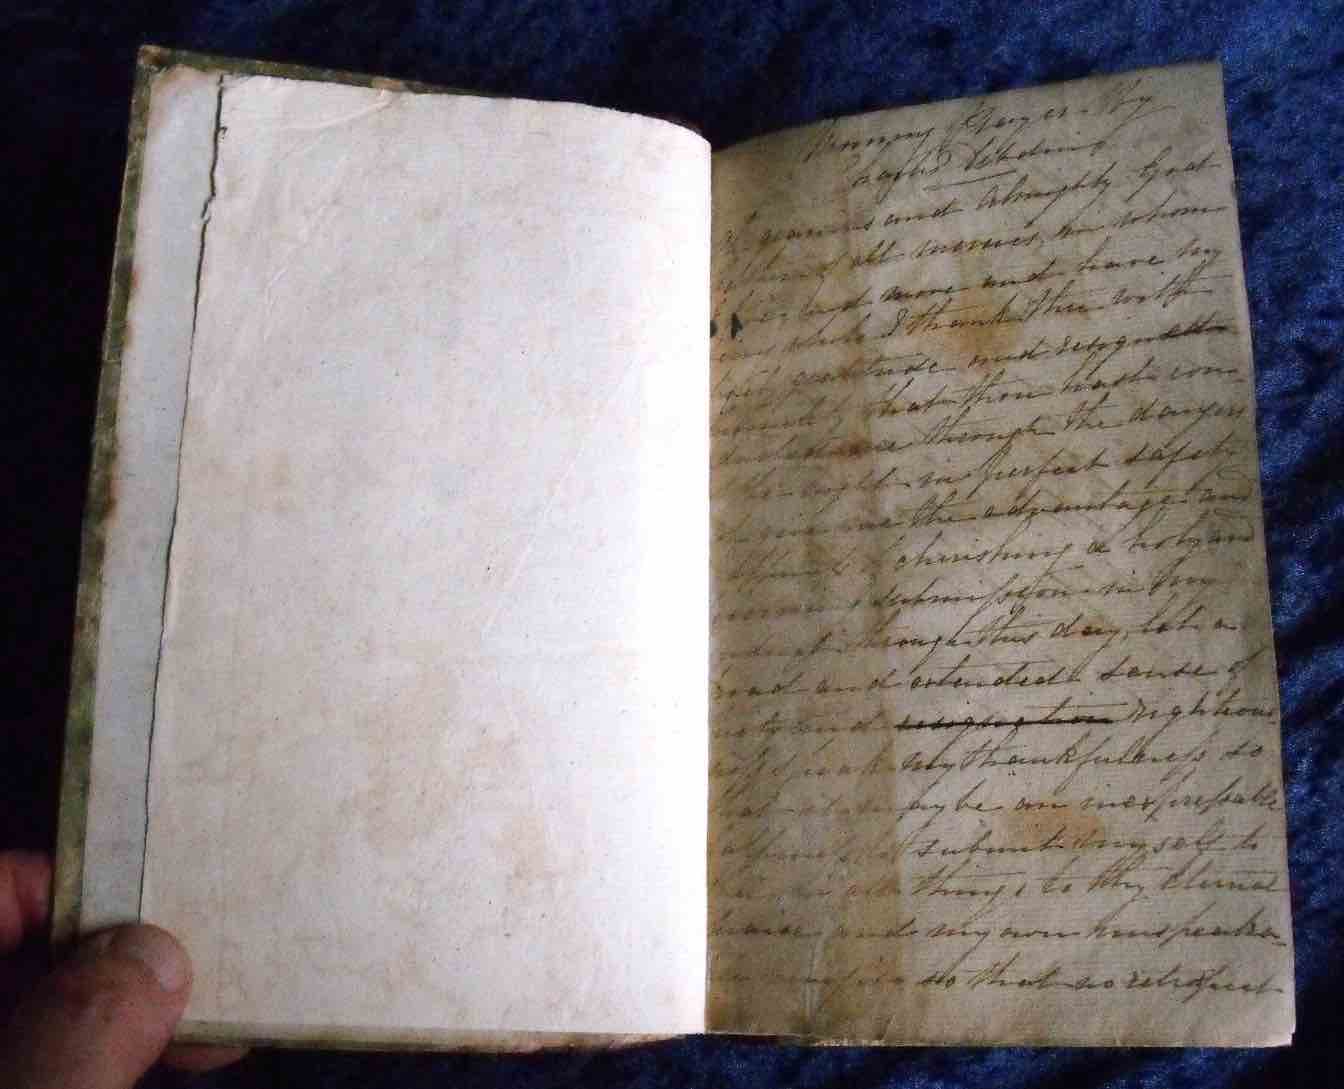
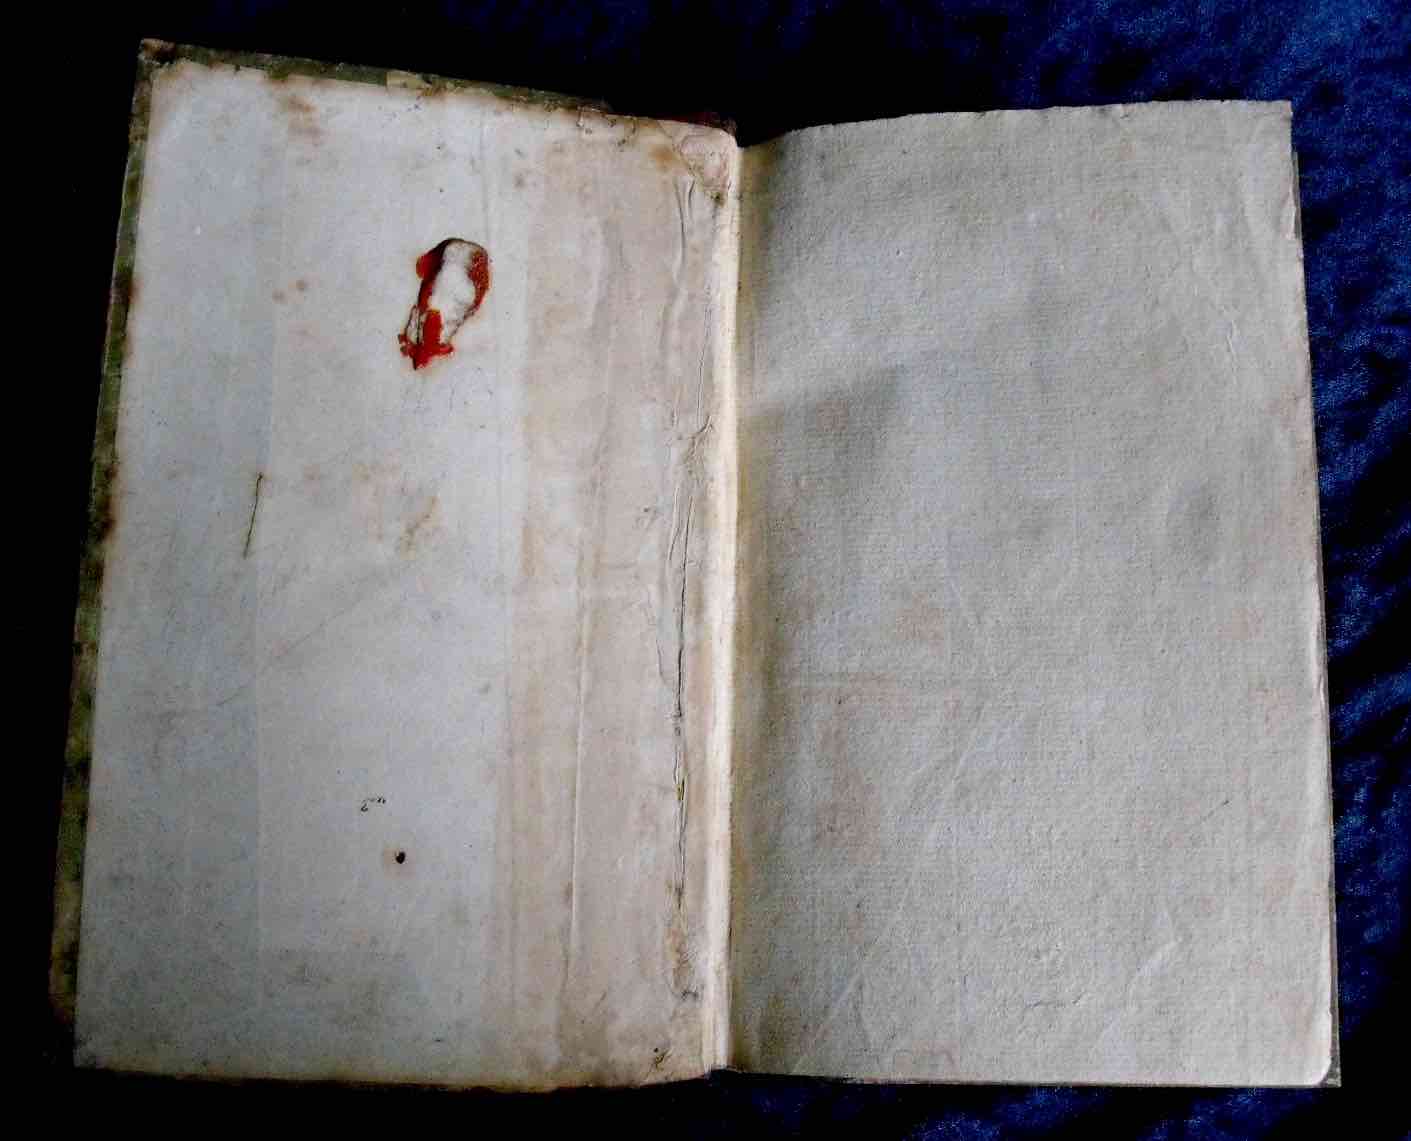
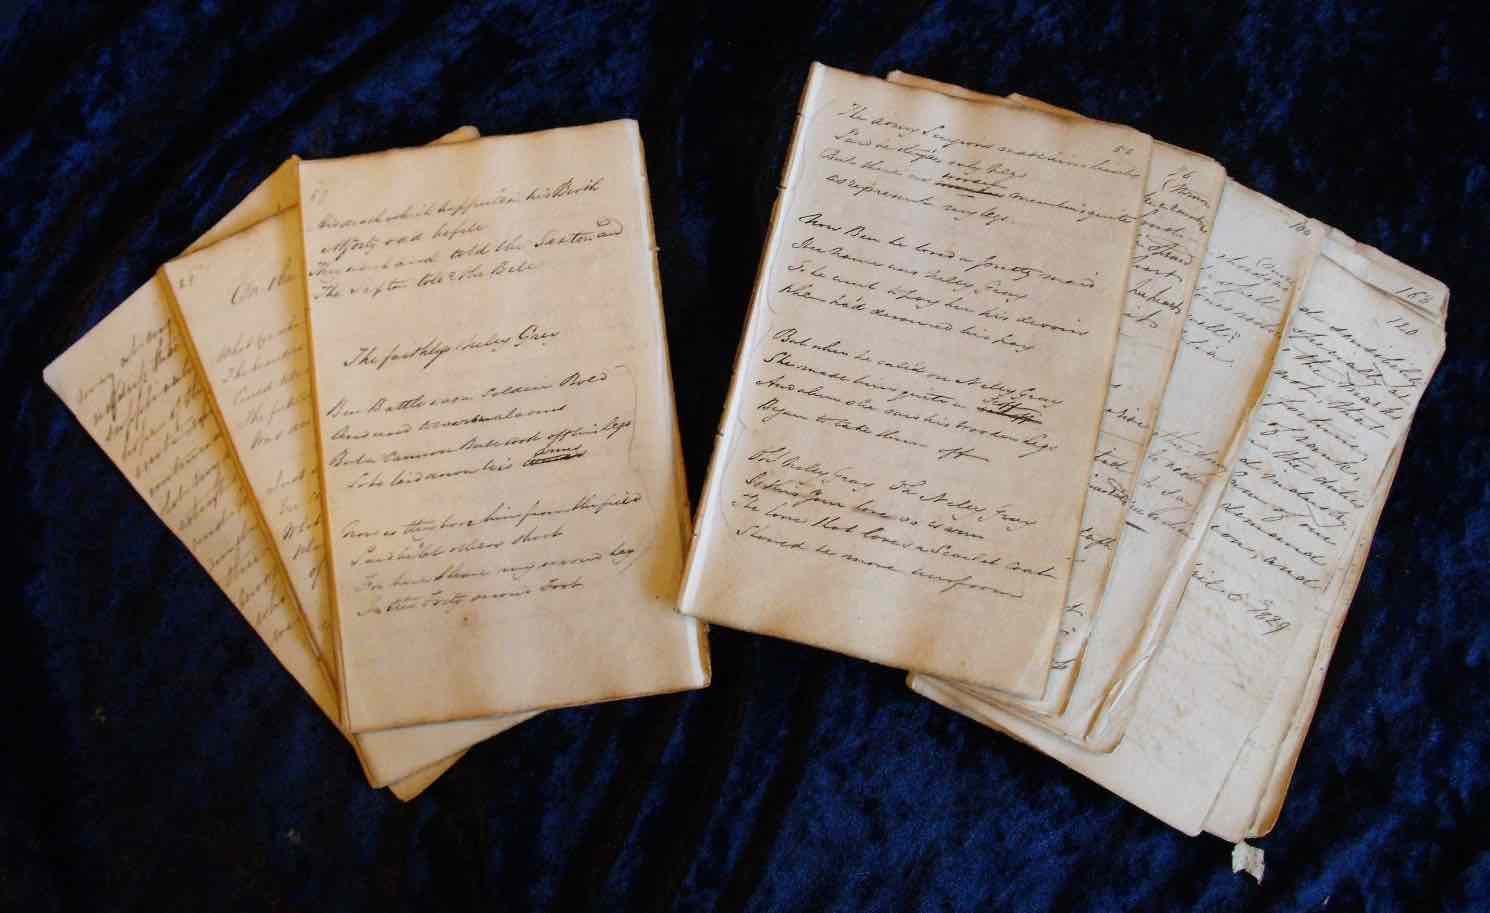
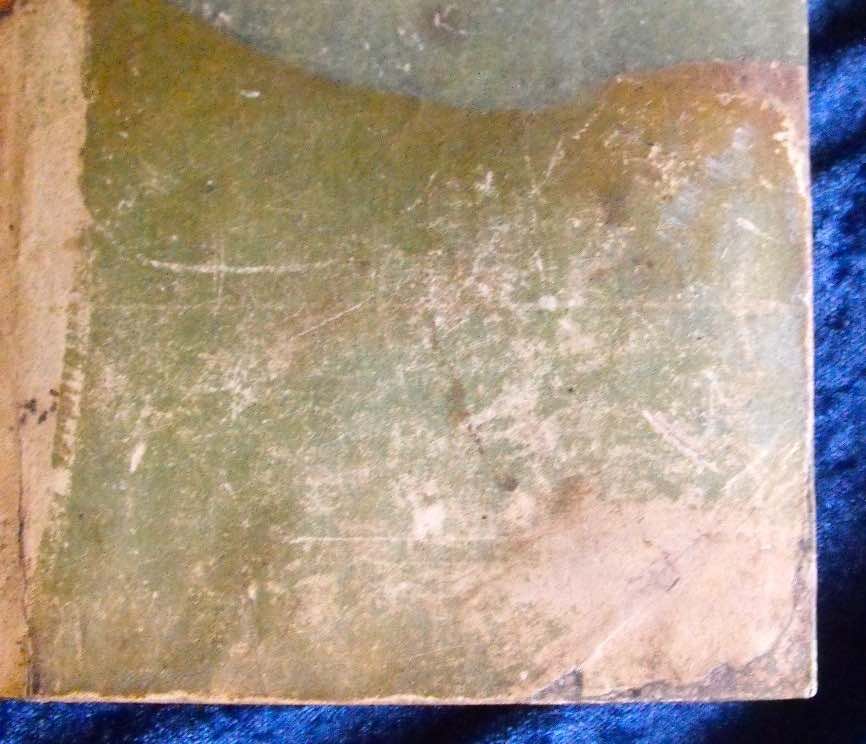
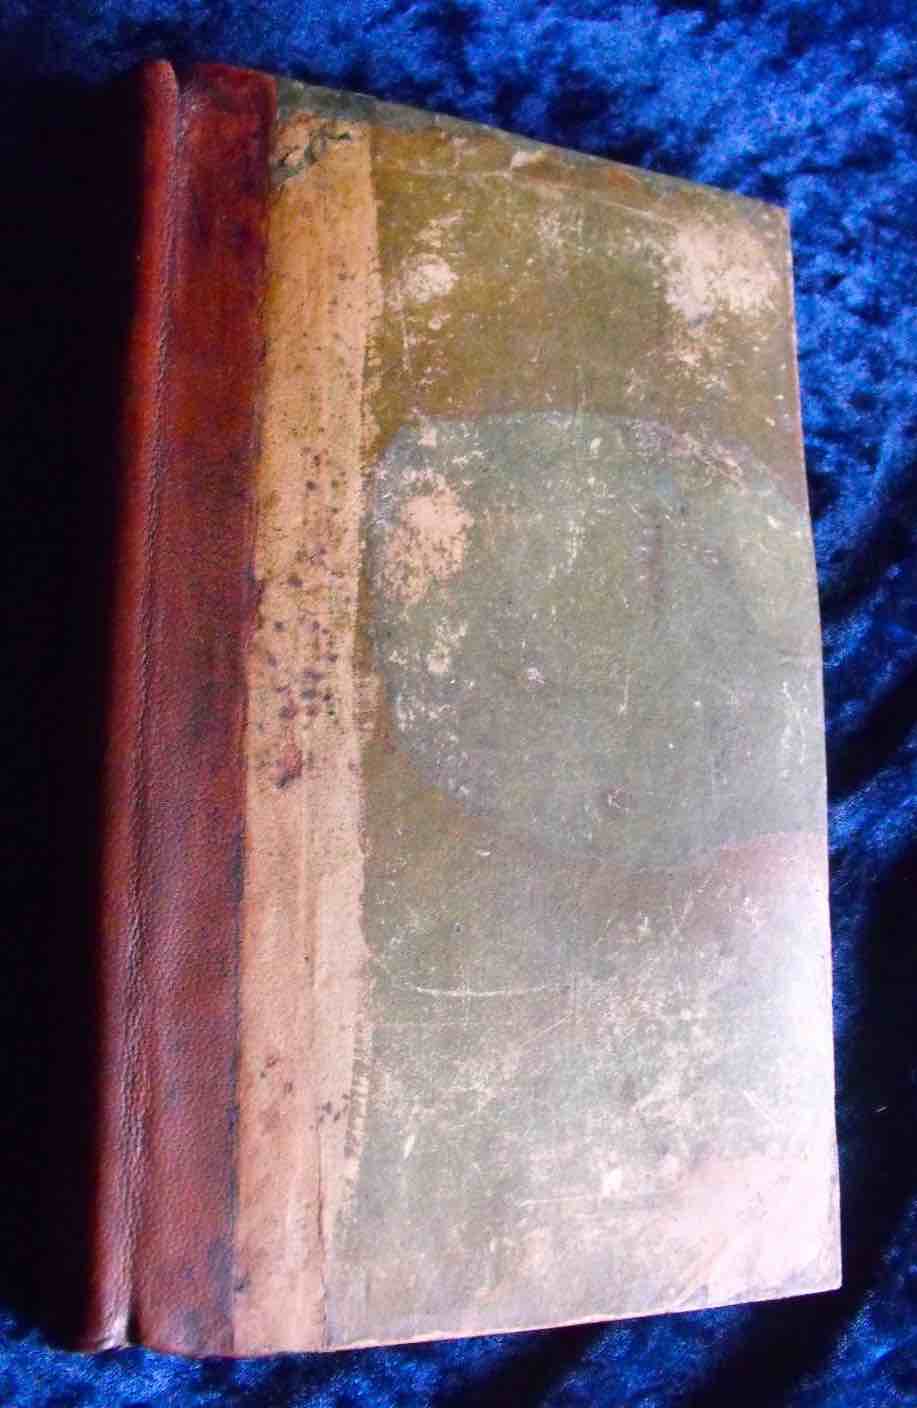
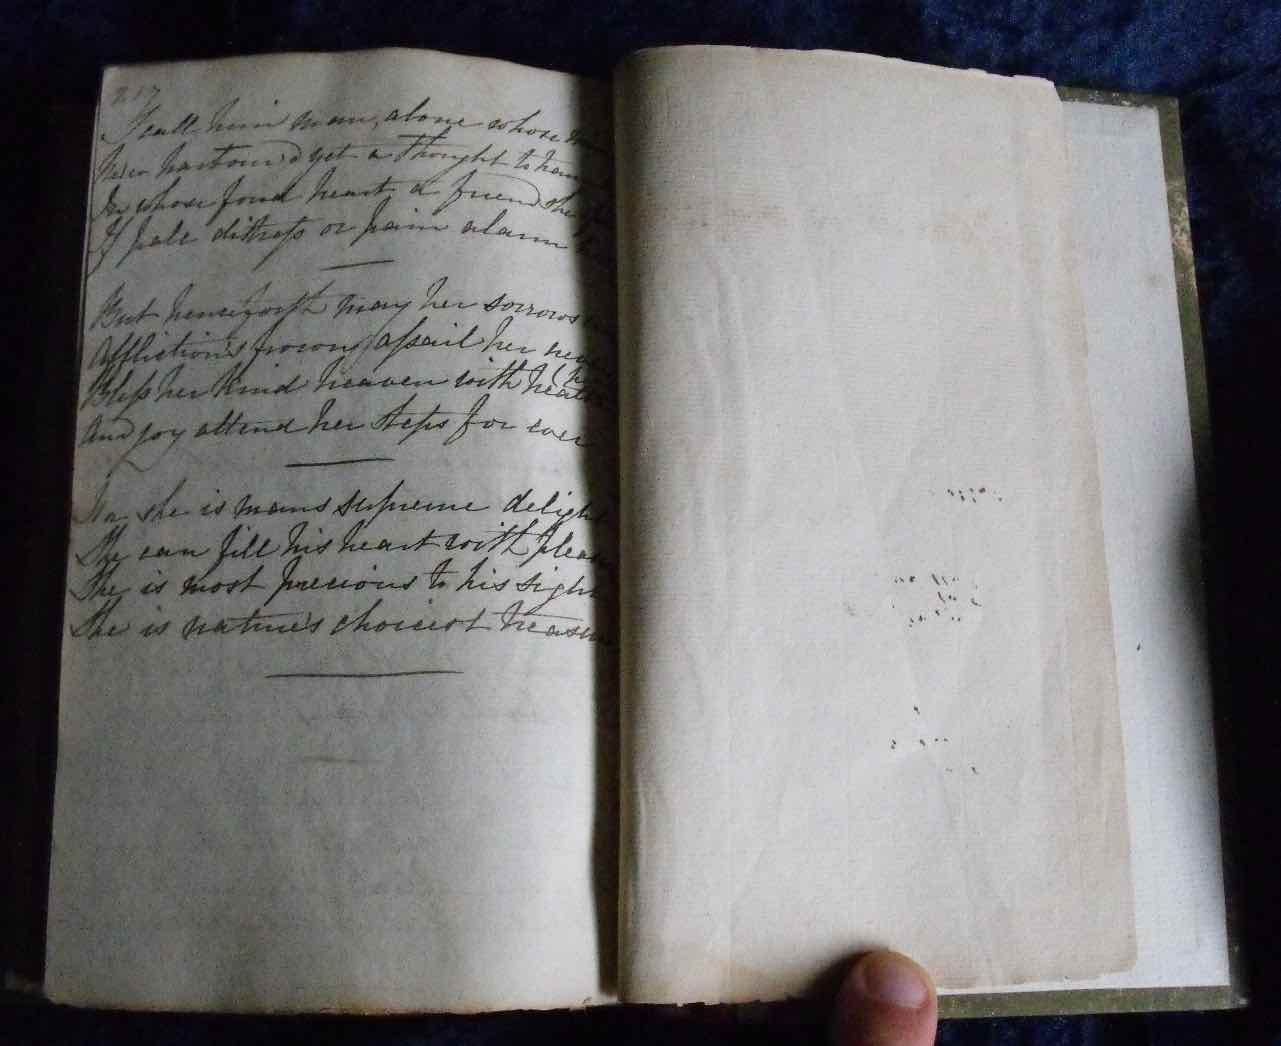
The book, containing around 100 pages of neatly handwritten notes, arrived almost completely disbound. It was lacking its back cover as well as its front and rear endpapers. One page had been roughly torn in half with it’s lower half now lost. Its worn front cover had been crudely attached to the first page with heavy brown tape in the past. This rough repair had obscured much of the handwriting beneath it. The front cover itself had a large and prominent burn mark within a concave gouge right in it’s centre.
A challenging book restoration
I had initially suggested to the owner that it might be more practical to send the book elsewhere for rebinding. However, they were adamant that they wanted to save as much of the original material as possible. As everything present had probably been handled by one of England’s most famous artists and they wanted it all preserved. Consequently, I made a start on this challenging book restoration.
The first task was to remove the tape attaching the front cover to the first page of text.
Removal of old repair tape prior to the book restoration
Fortunately, it being a very old repair, the adhesive on the back of the tape was water-soluble. I carefully dampened and teased the tape and it slowly but surely came away. This revealed the handwritten notes beneath it that had been obscured for many years. I then removed the other half of the tape strip from the inside of the front cover. This completed the most nerve-wracking part of the job!
Repair of the torn page
The text block had one blank leaf remaining at the end of the book. This was of the same paper stock as the rest of the pages in the notebook. The blank leaf was therefore a perfect match for repairing the torn page with. With the owner’s permission, I removed it and used it as the source of paper to repair the torn page.


I then sorted the disbound pages into their individual quires. The pages were reinforced at their folds and then resewn back into one book block.
The text block was now back into a sound and solid state. I then turned my attention to the restoration of the binding.
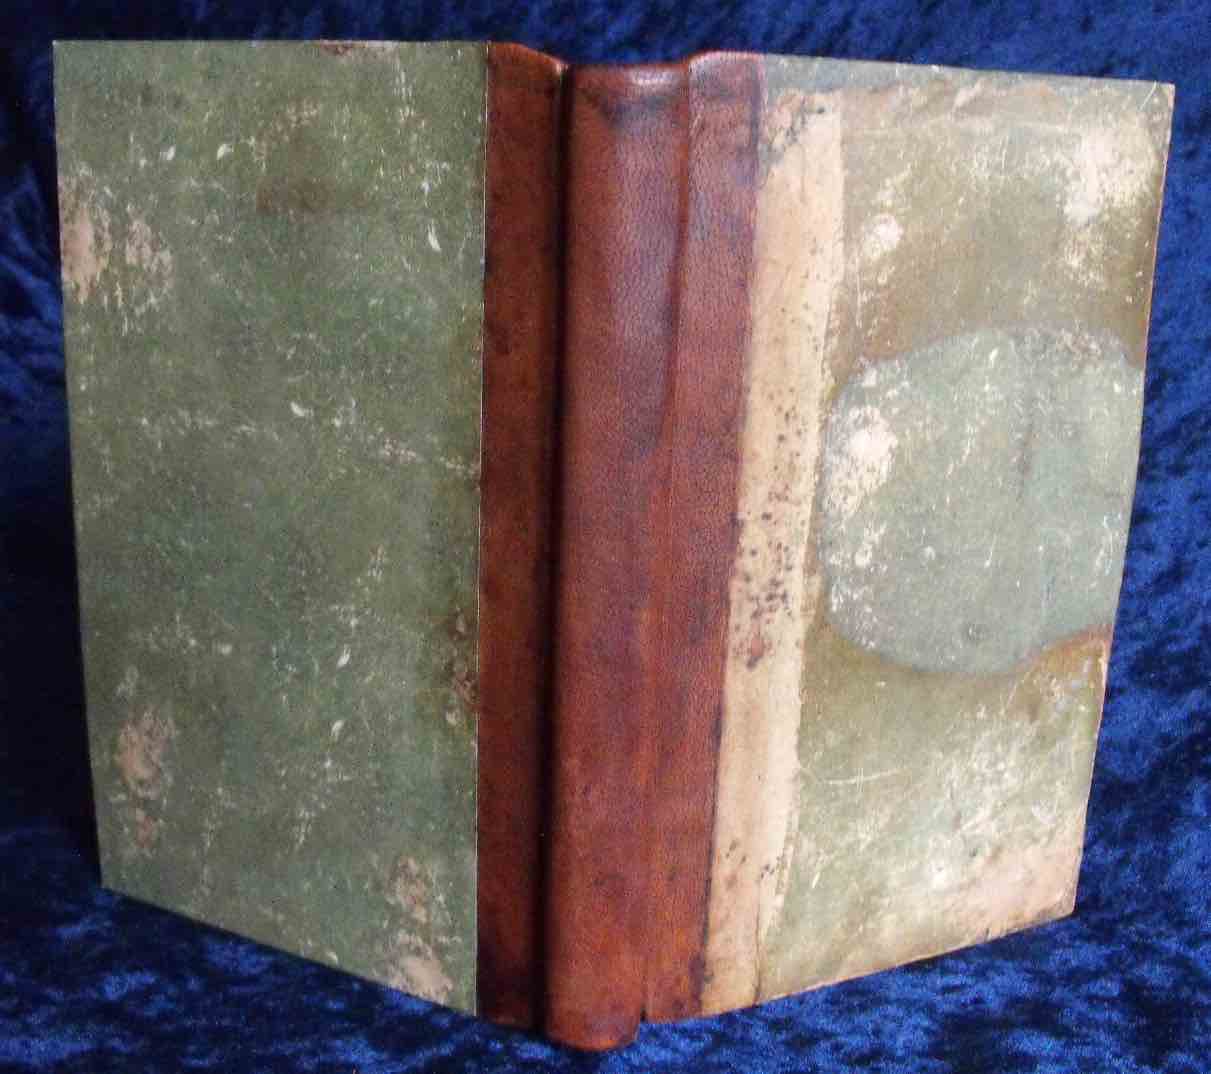
Restoration of the book’s binding
The original paper covering on the front cover was heavily rubbed. This ‘patina’ would need to be replicated in some form onto new paper. Once prepared, this repair paper would provide the material for the repairs to the covers. I planned to use this to re-cover the worn corners and edges. It would also be used to patch the large mark on the front cover. Finally, I also needed sympathetic ‘siding’ paper for the currently non-existent back cover.
First, I made a number of scans of different regions of the paper on the front cover. I then combined these in an image editing programme to produce an abstract pattern that replicated the existing patination. This would be printed onto new paper. Whilst mimicking the patination was possible, precisely matching the shades of the original paper proved to be beyond me. It also stumped the specialist printers that I approached to handle the final printing process. With the cost of test prints spiralling, I had to settle for the closest colour match that could be achieved.
Having produced a few sheets of an acceptable ‘repair’ paper, I set about making the repairs. Firstly, the worn corners of the front cover were rebuilt to square with new board. They were then neatly re-covered using the repair paper as was the worn top edge.

The large gouge in the front cover was filled and sanded smooth. It was then covered with a patch of the repair paper pared very thinly at its edges. This ensured that it sat flush with the cover once the repair had dried.
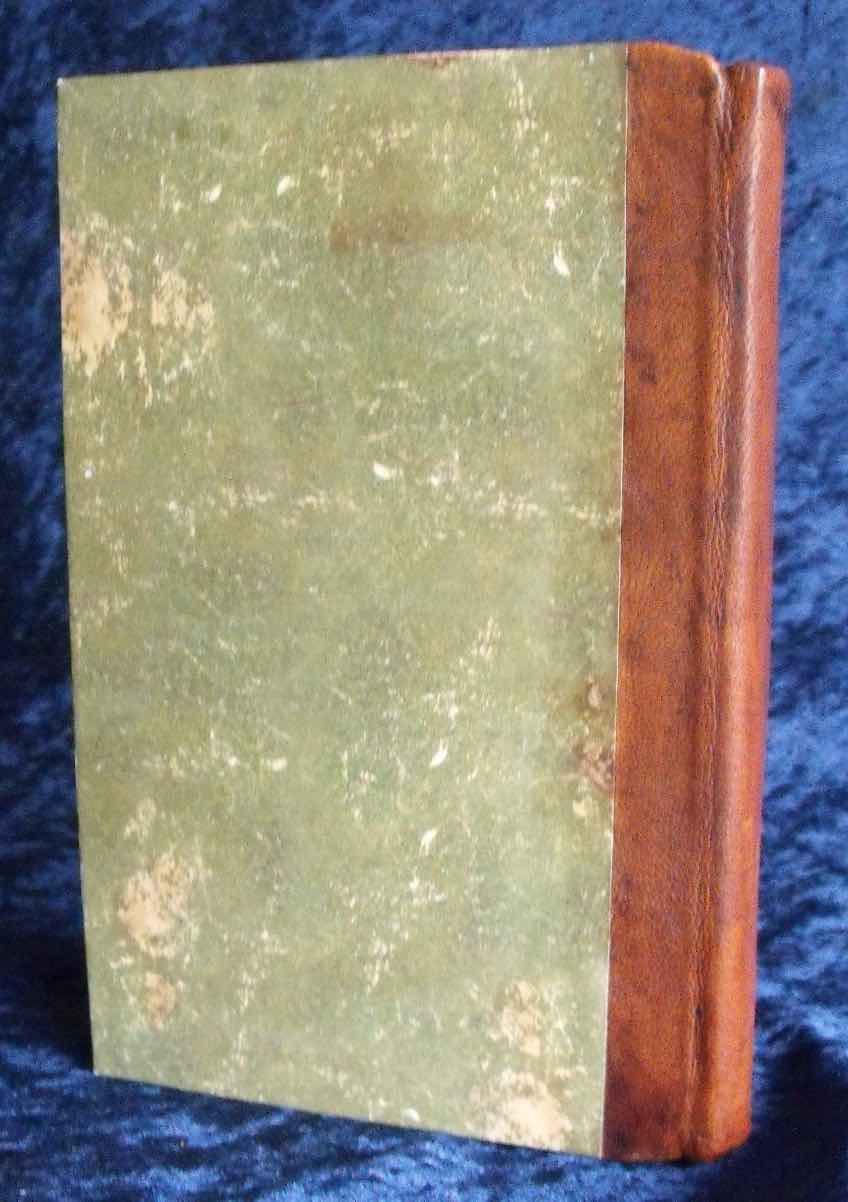
Adding a replacement back cover to the book
A new back cover was cut to match the dimensions of the existing front cover. The book was rebacked with a plain leather spine that reflected the style of the original. This was based on the small fragments of the original spine that came with the book. A sheet of the printed repair paper was then applied as the new ‘siding’ for the back cover.
Finally, I found a couple of sheets of contemporary paper that closely matched the original paper stock. I used these to recreate the missing front flyleaf and rear endpapers.

A satisfying book restoration of a notebook that in its own way, forms a small part of British art history.