This article shows a step by step demonstration of a leather family Bible restoration.
Large family Bibles
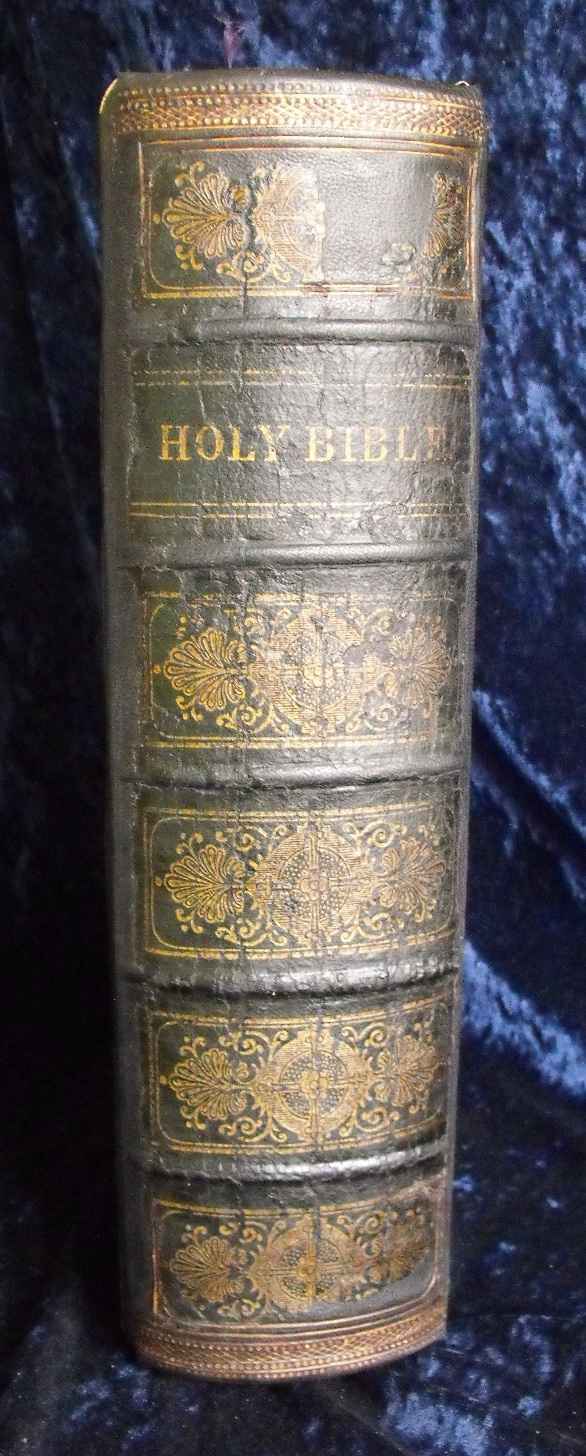
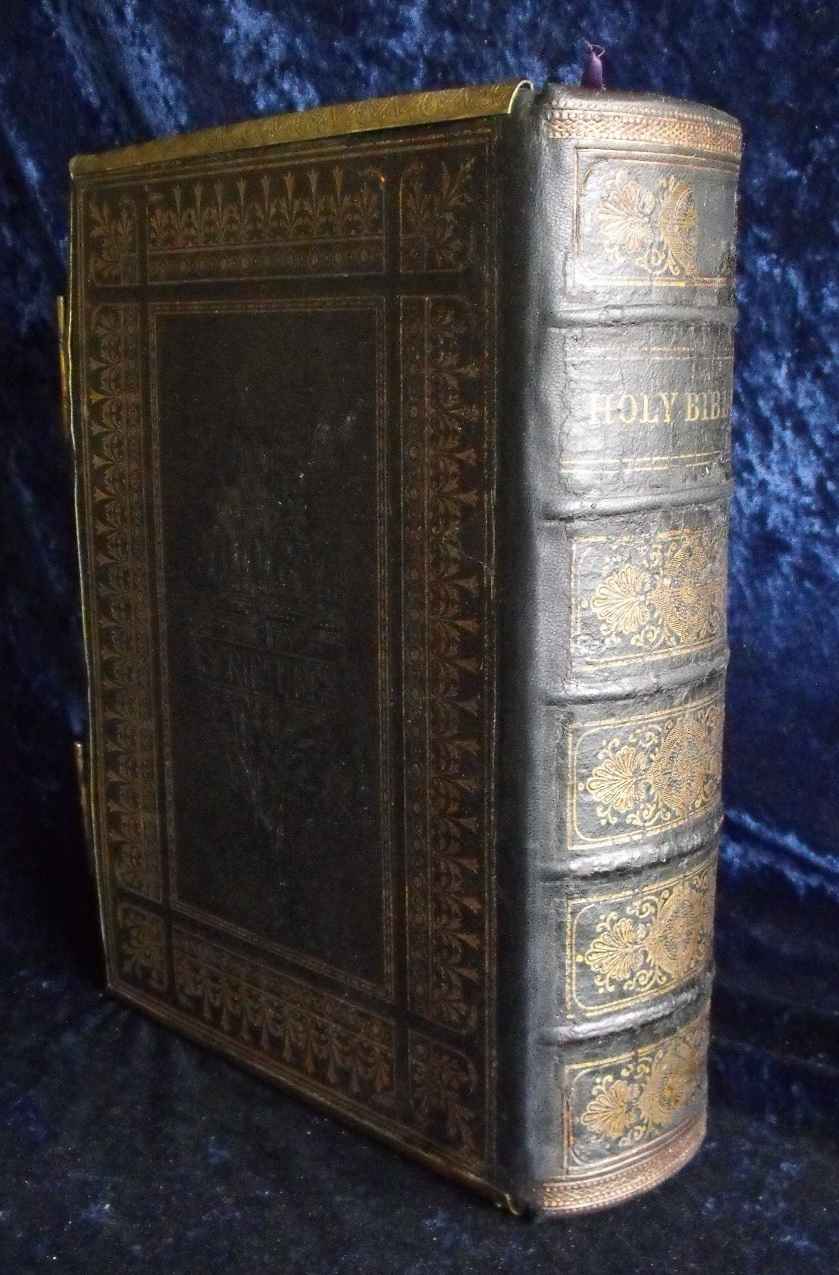
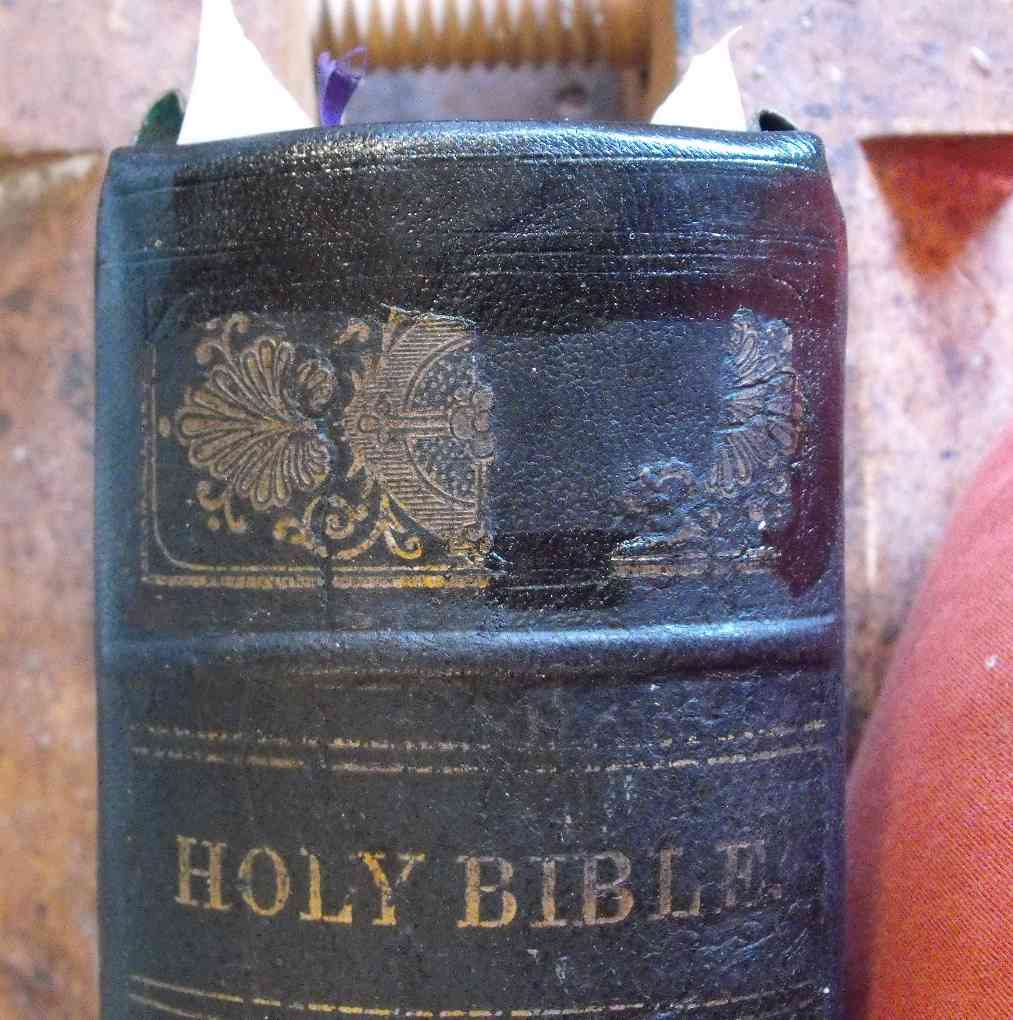
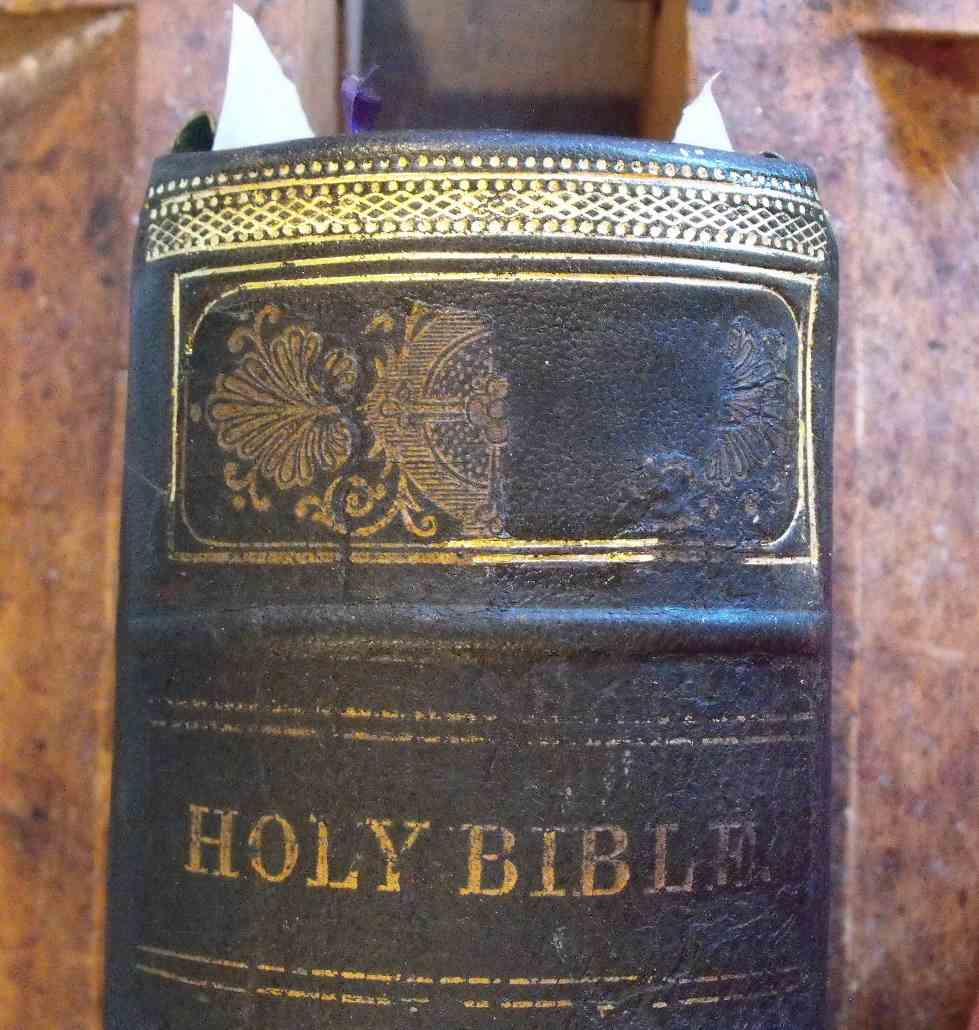
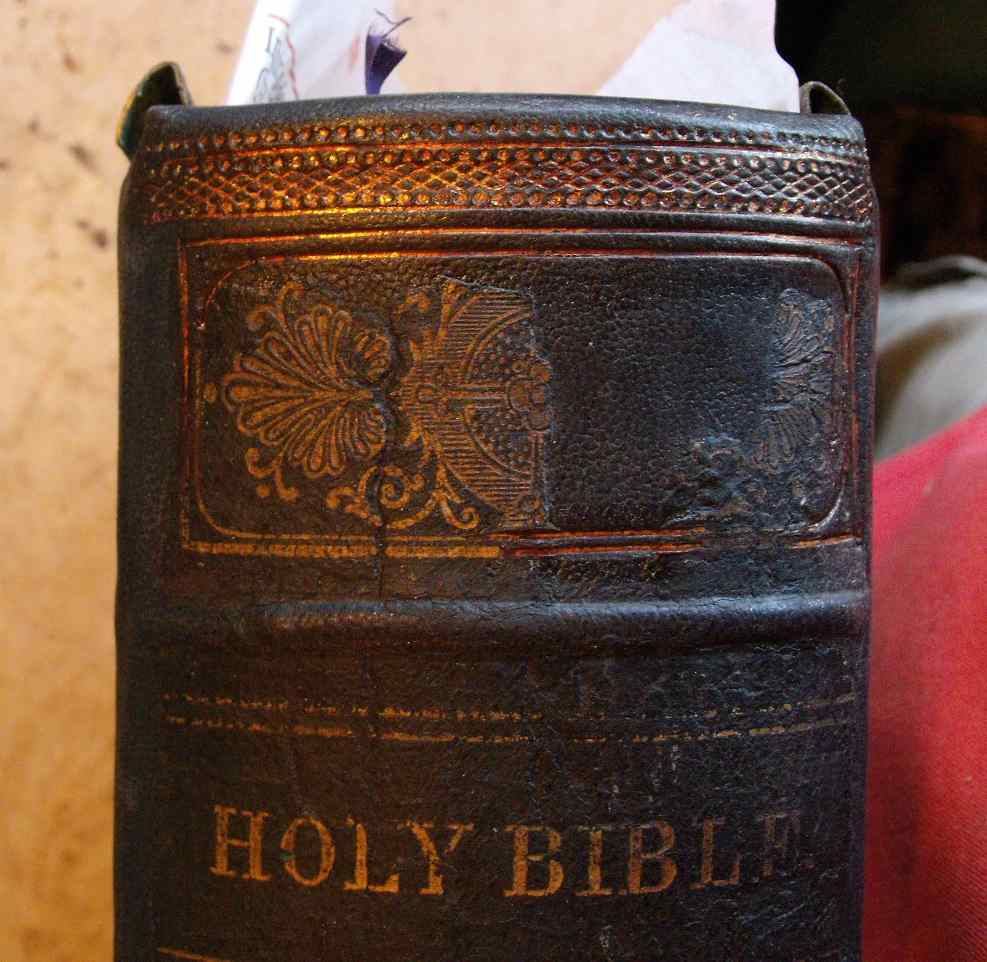
One of the most common tasks that I undertake is a leather family Bible restoration. This is usually required when the covers or the spine have become detached from a large Victorian Bible. These hefty family Bibles, all produced between around 1850 and 1900, were made to look very striking. They were covered in full black goatskin with lots of blocked gold decoration on the spine and covers. Sometimes they had brass fittings around the edges of the covers or on the corners. Their heavy covers were almost always poorly attached considering the book’s size and weight. After 150 years of use, the leather on the hinges can start to split. Eventually either the spine detaches or one or both of the covers fall off.
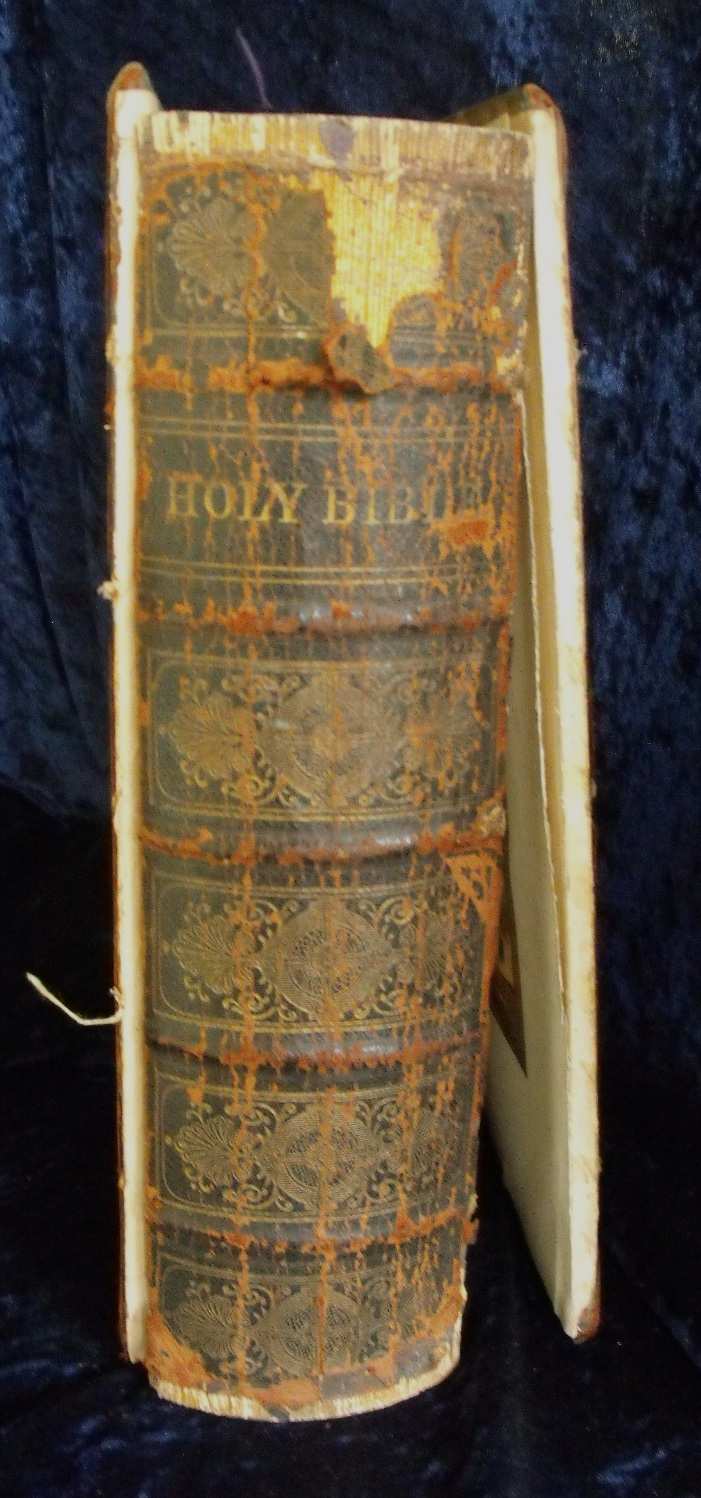
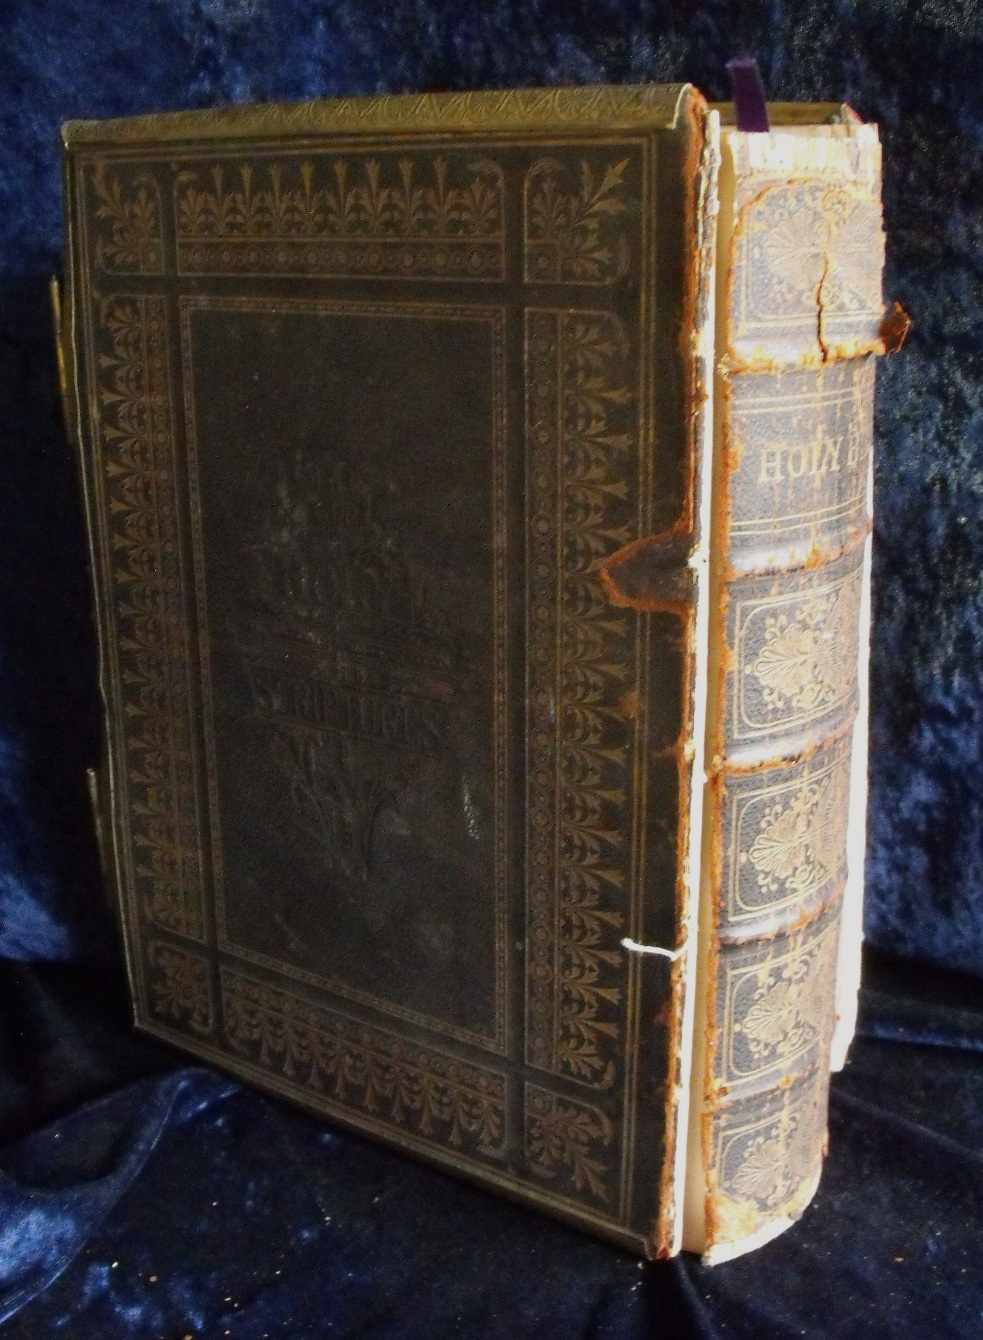
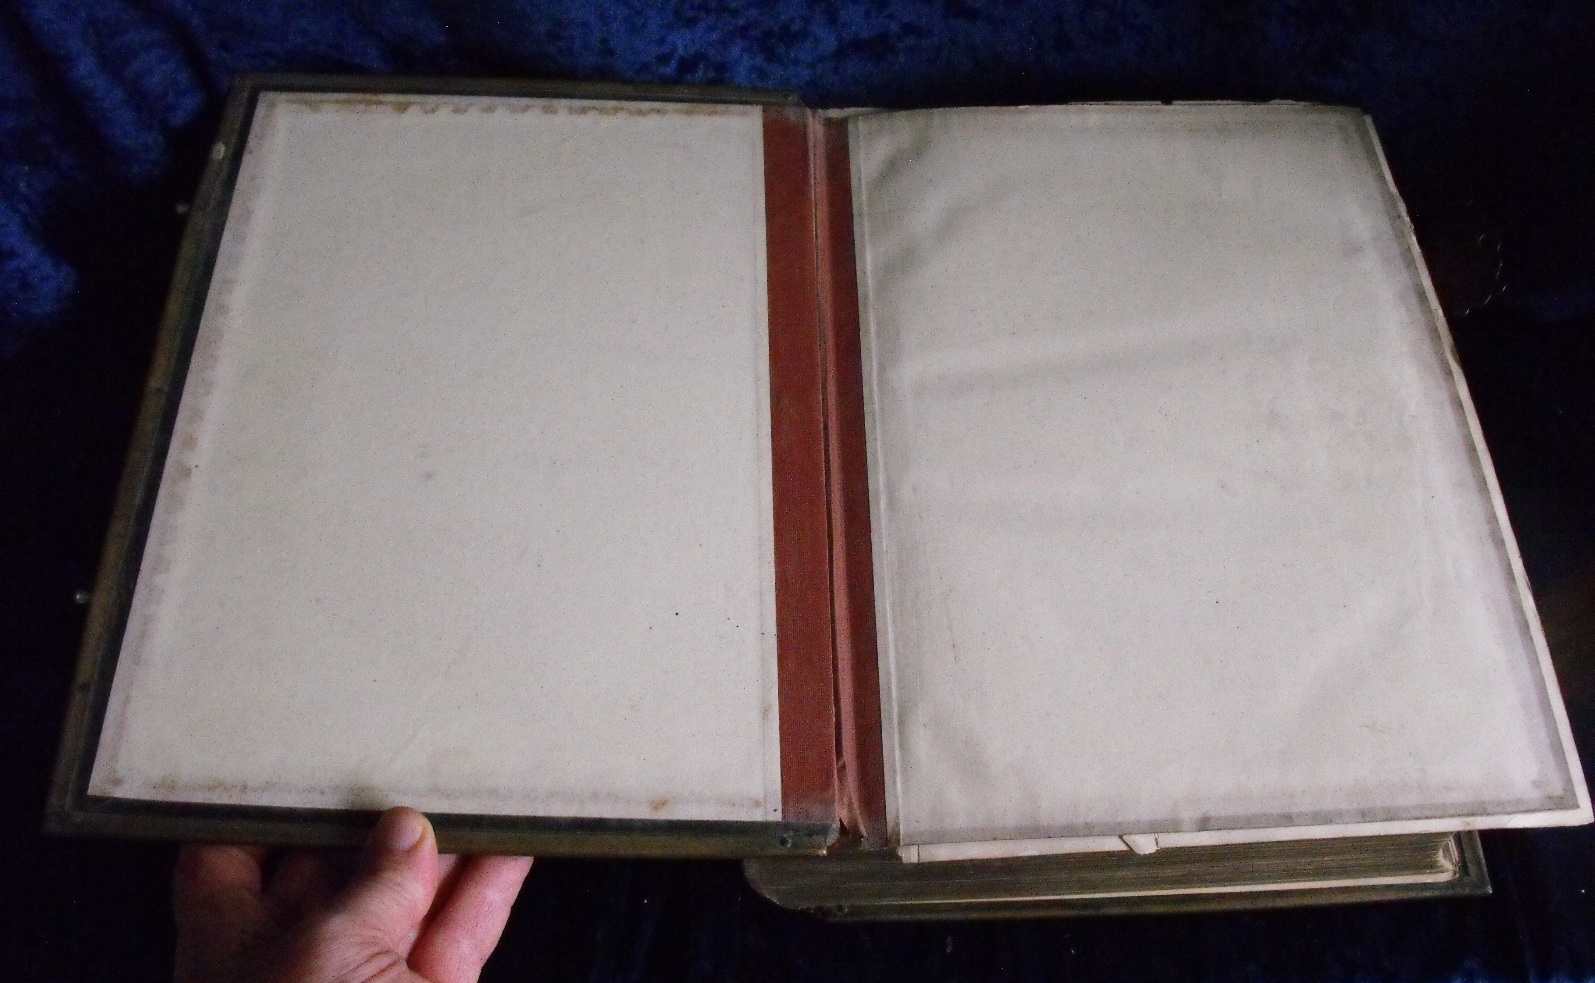
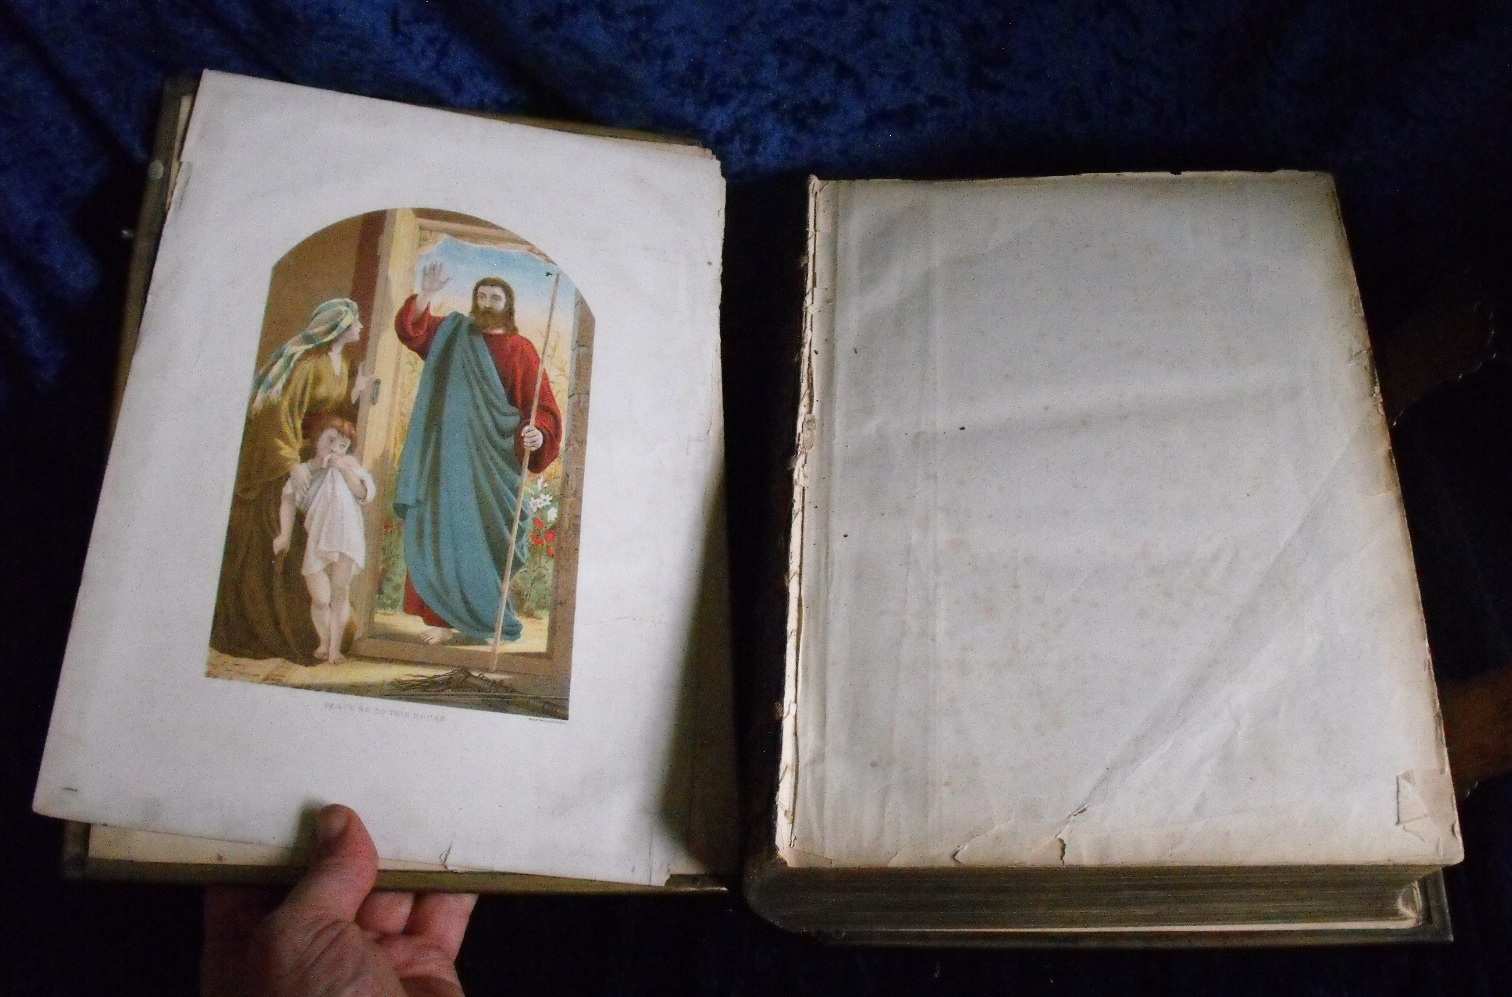
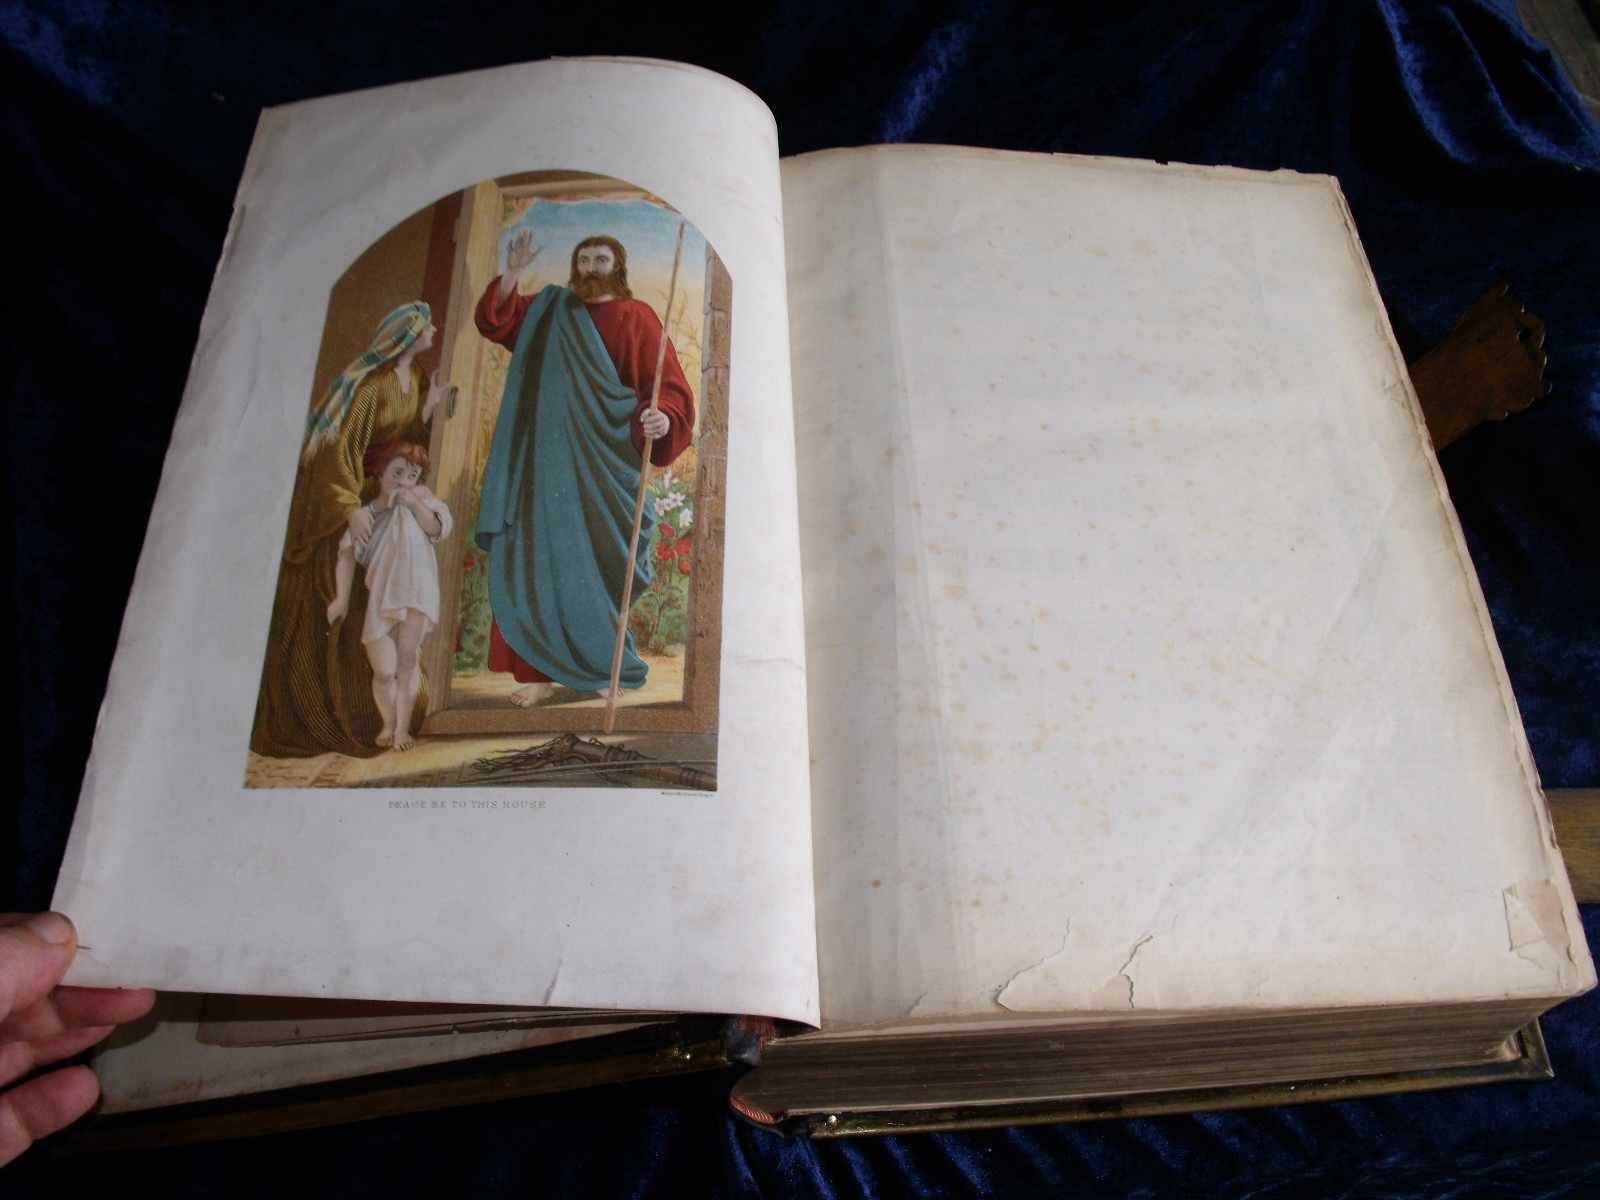
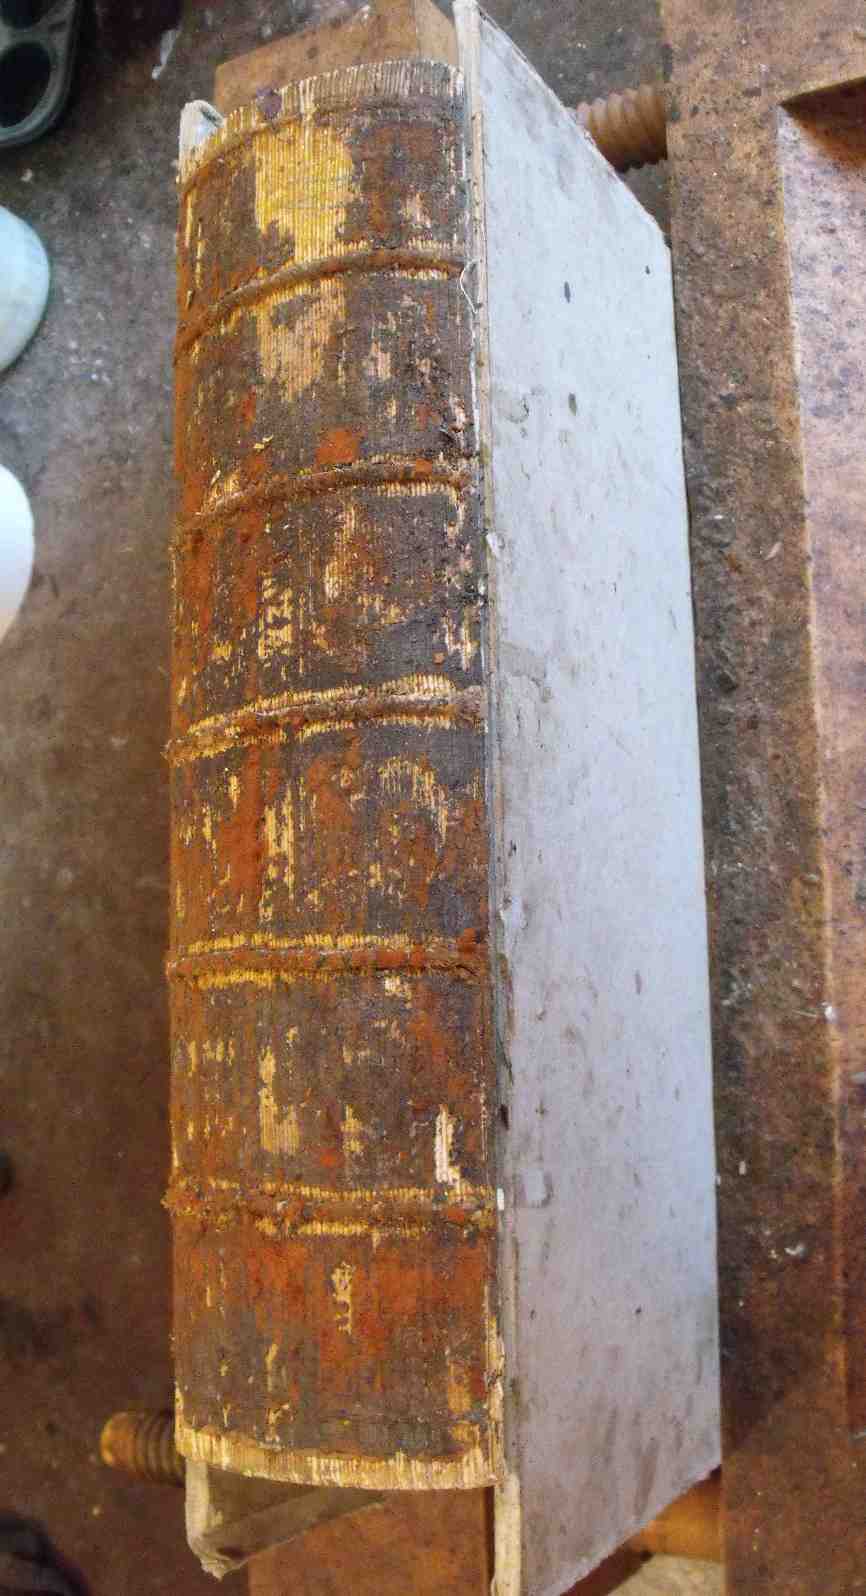
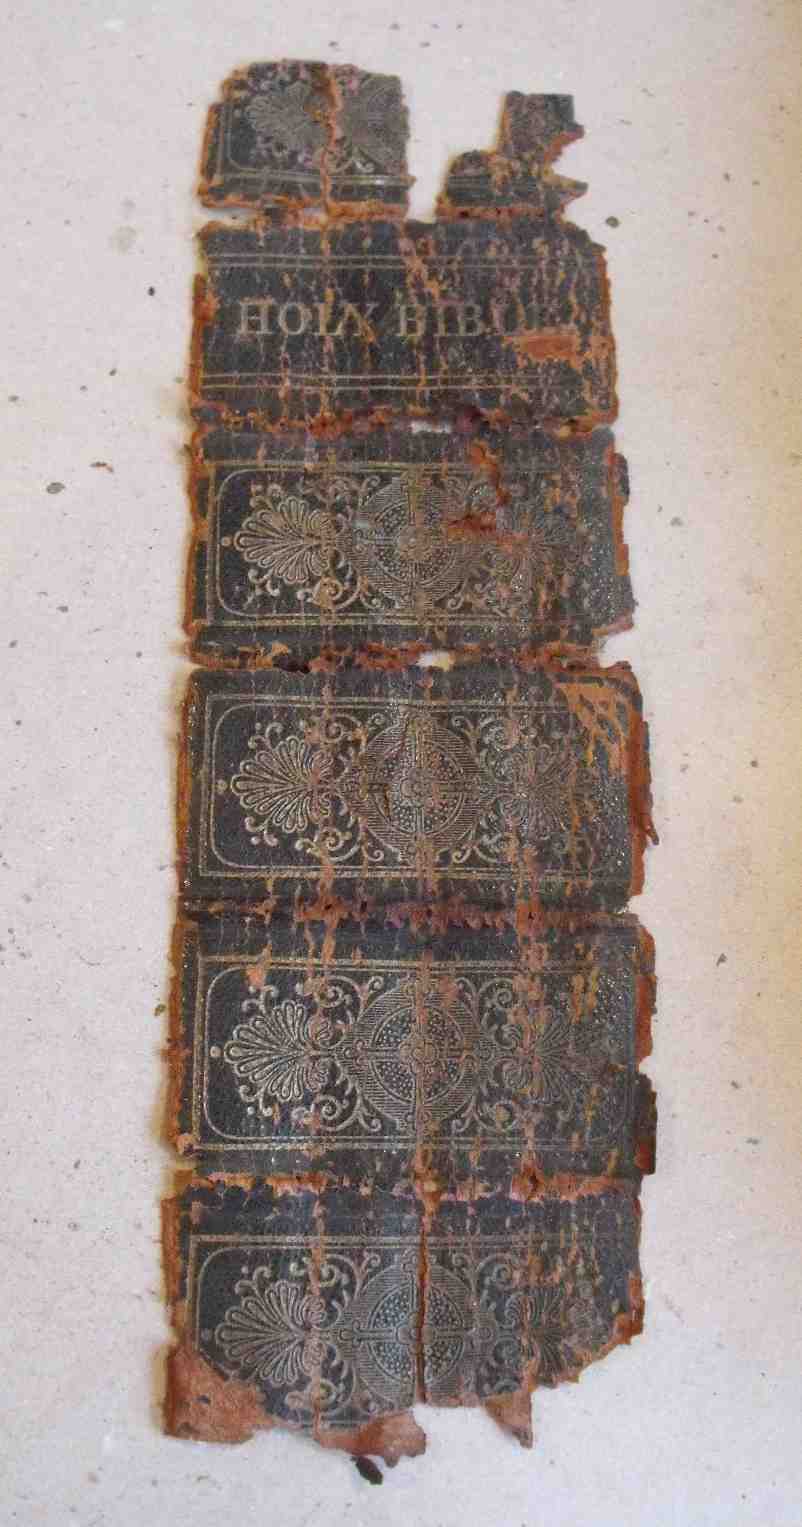
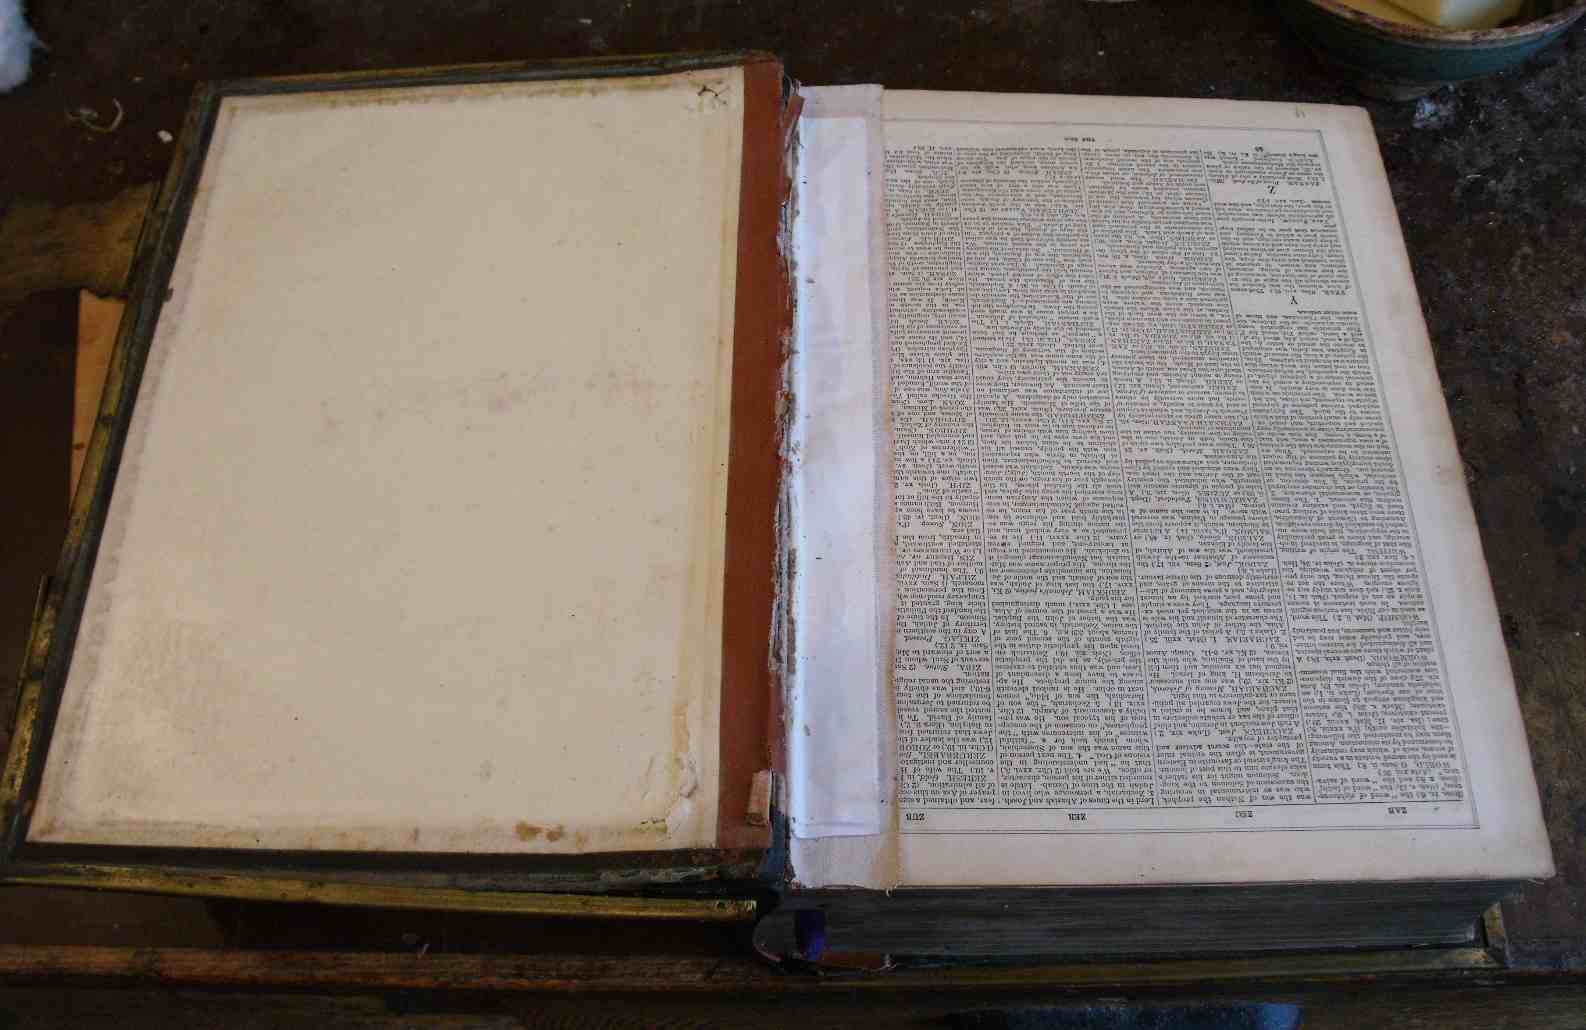
I recently repaired a family Bible that was a good example of the sort of damage that these volumes can sustain. This presented a good opportunity to detail the step by step process of the restoration of this kind of Bible. It arrived looking like this, with both covers and the frontispiece detached and with parts of the spine missing:
Leather family Bible before restoration. The spine is damaged and the covers detached. The back cover of the Bible before restoration. The front endpaper before restoration. The coloured frontispiece before restoration.
Leather family Bible restoration process summarised
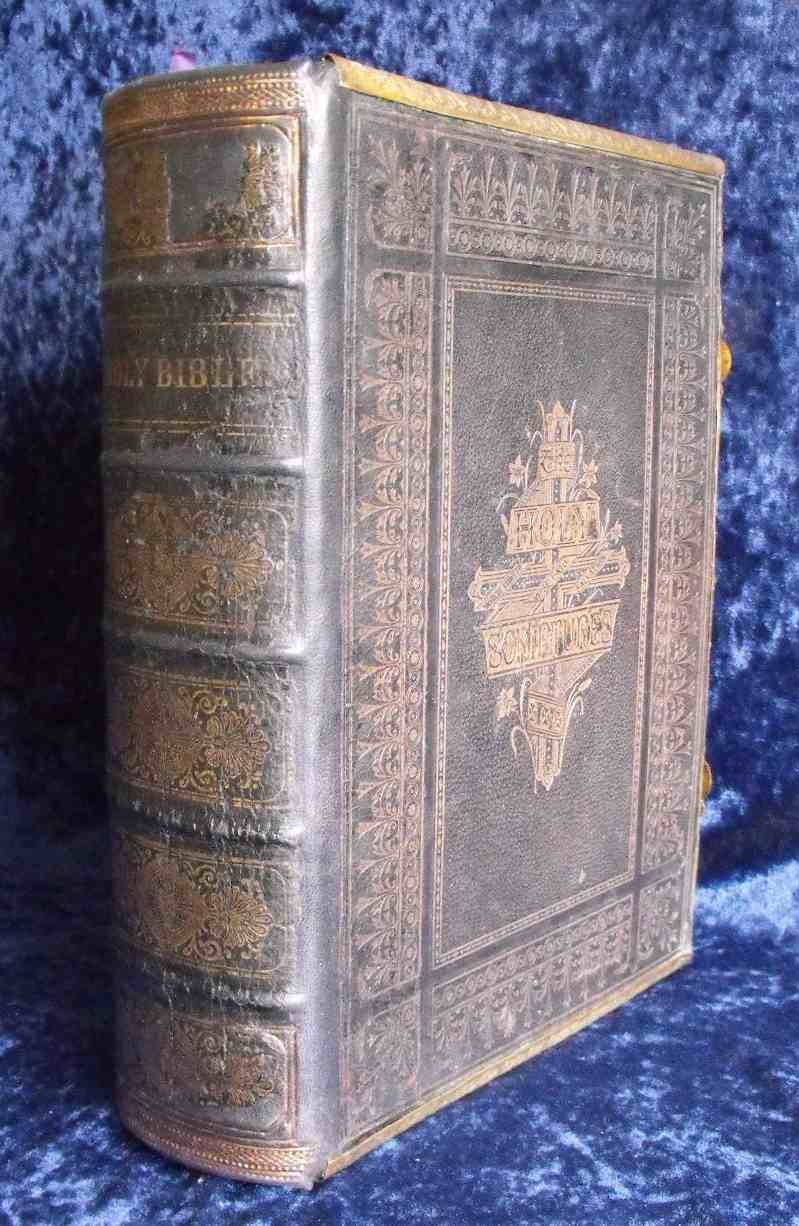
The loose frontispiece and detached covers were re-attached. The book was then rebacked with a new leather spine. Following this, the remains of the old spine were mounted onto the new one. Missing areas of gold tooling were re-tooled to match the original and the inside cloth hinges neatly rebuilt. Finally, rubbed areas of leather on the original spine and covers were re-coloured to the original tone. The Bible was returned to its owner looking like this:
Leather family Bible after restoration. The Bible’s spine after restoration. The back cover after restoration. The repaired front endpaper and internal cloth hinge. The re-attached frontispiece.
Leather Bible restoration process – step by step
I thought that it might be interesting for anyone reading this post to see the various stages of the work involved. As a result, I photographed each stage of the process which is described and shown below:
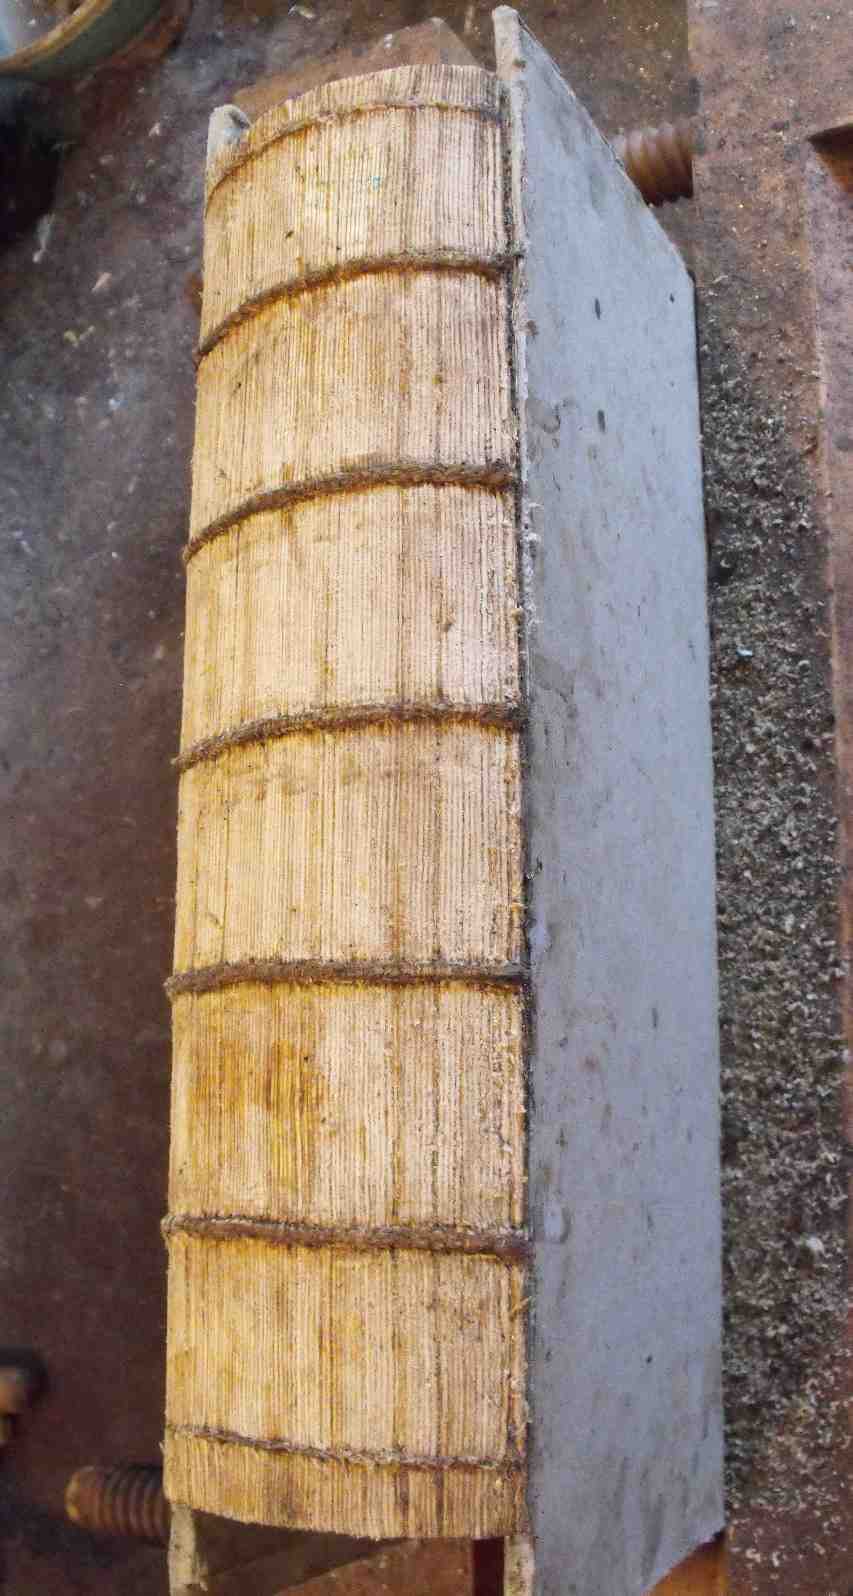
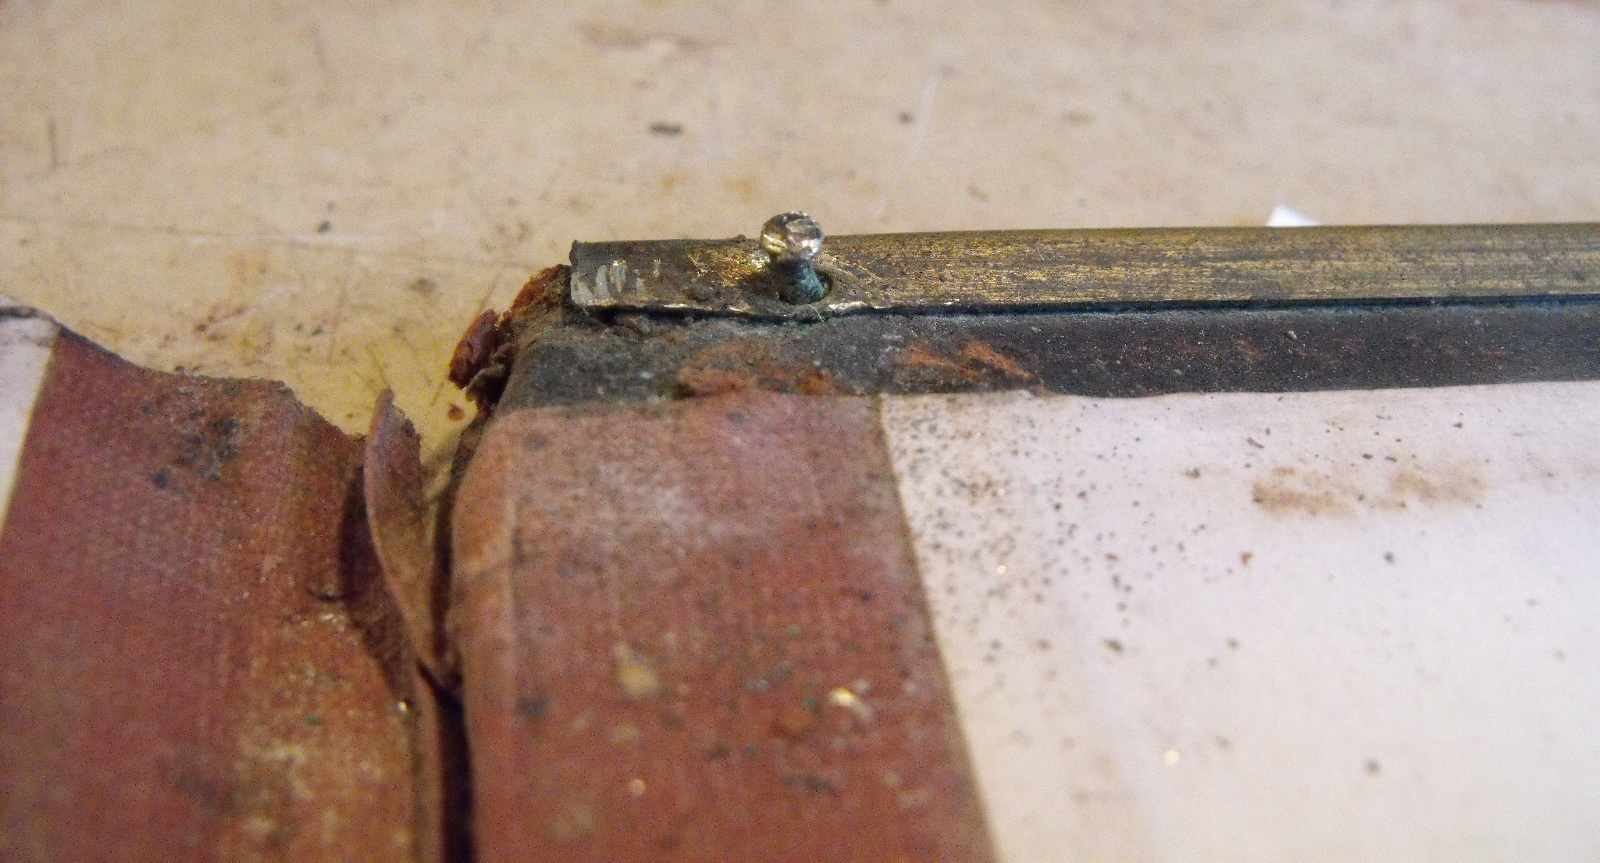
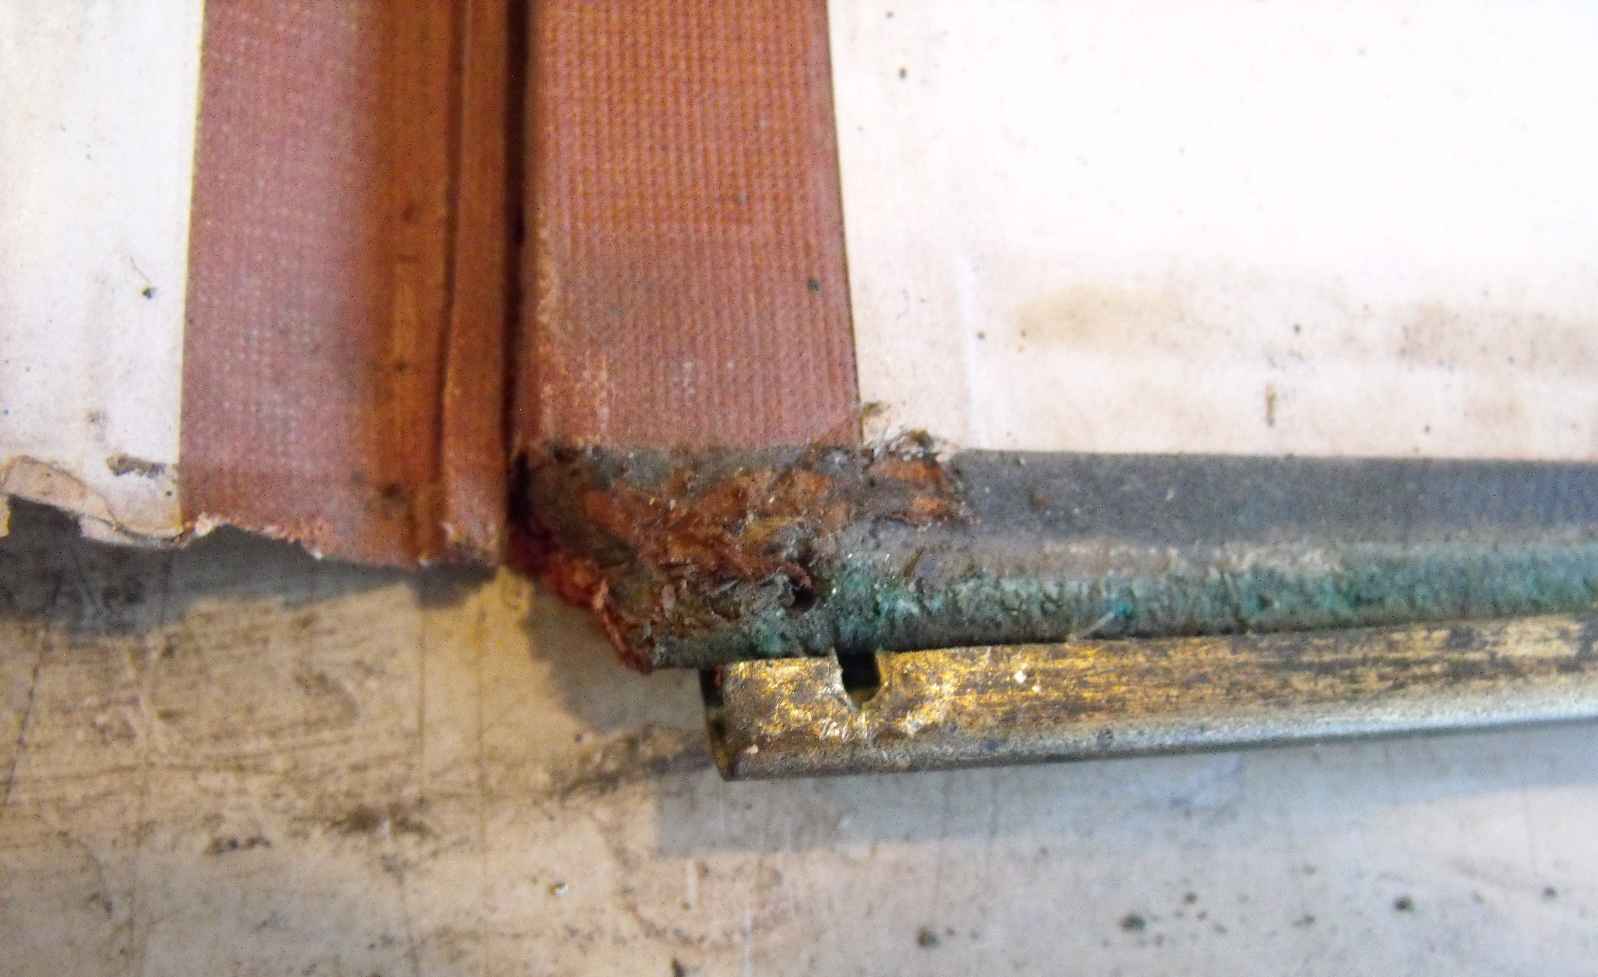
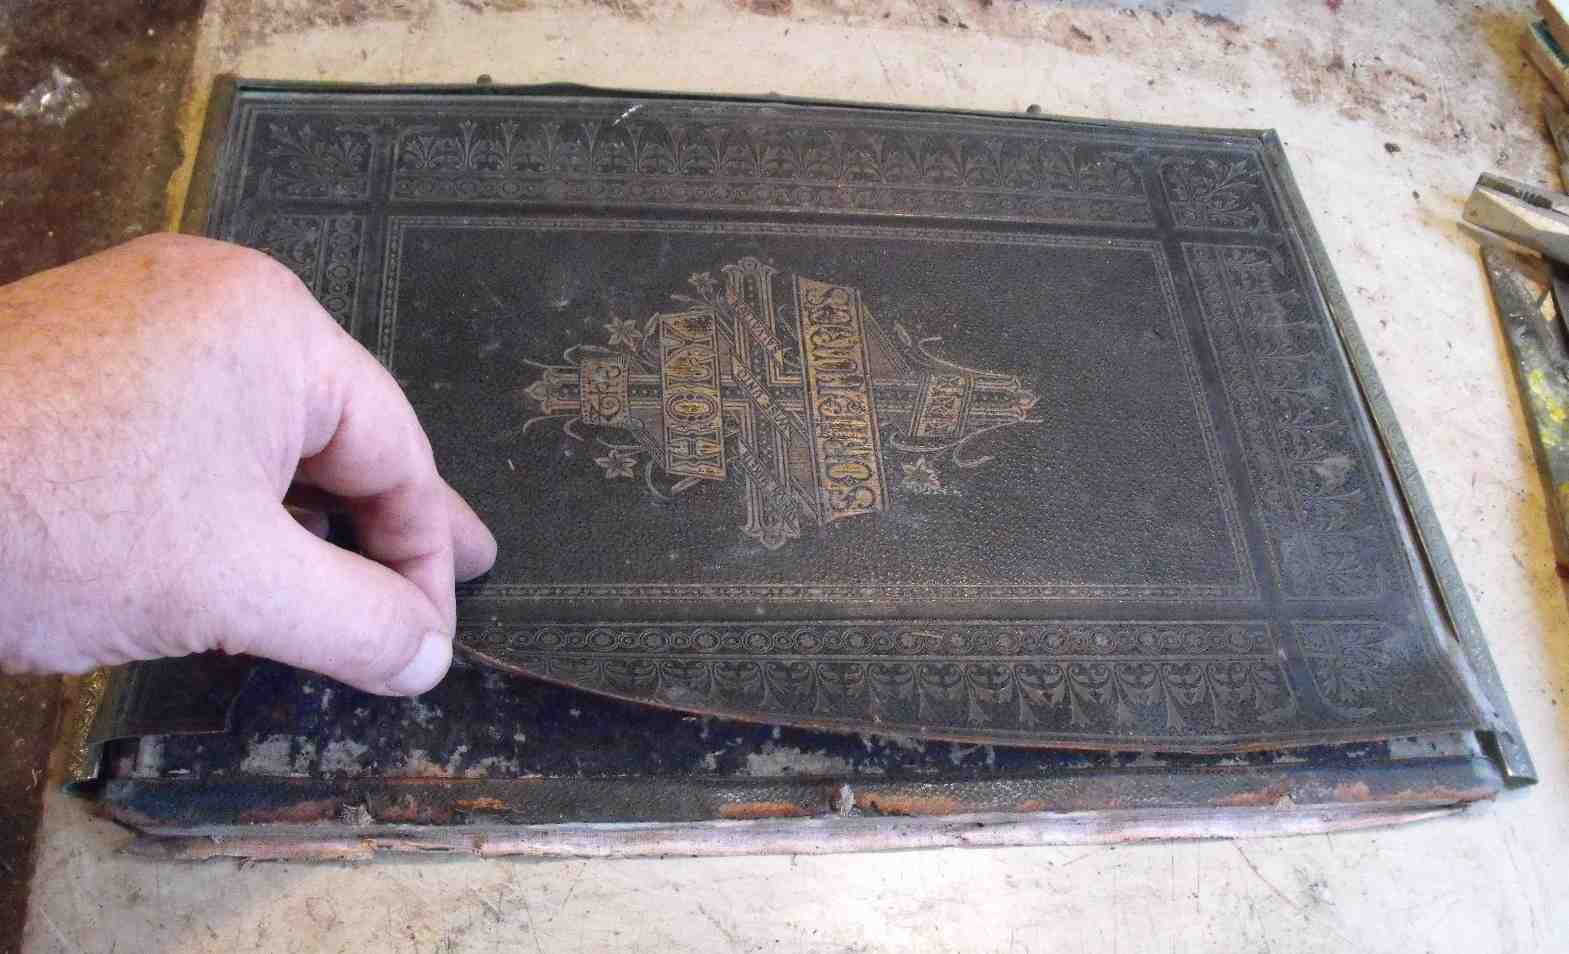
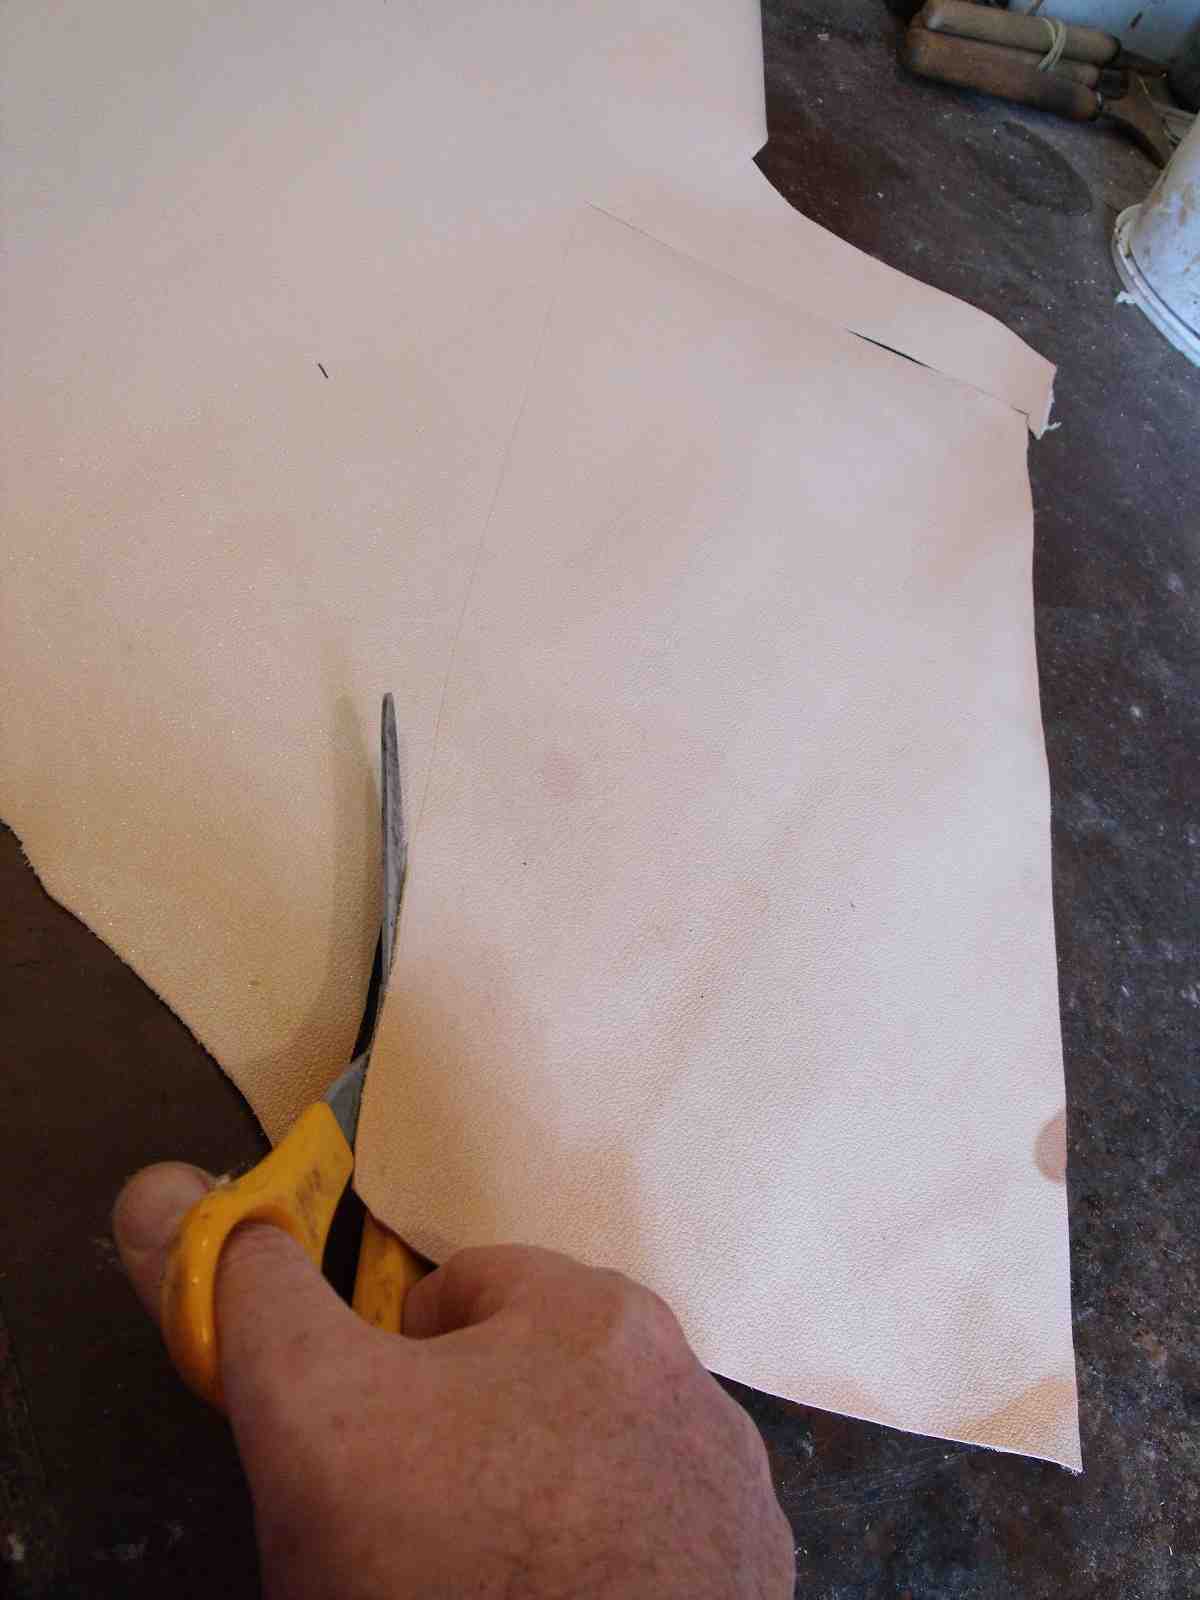
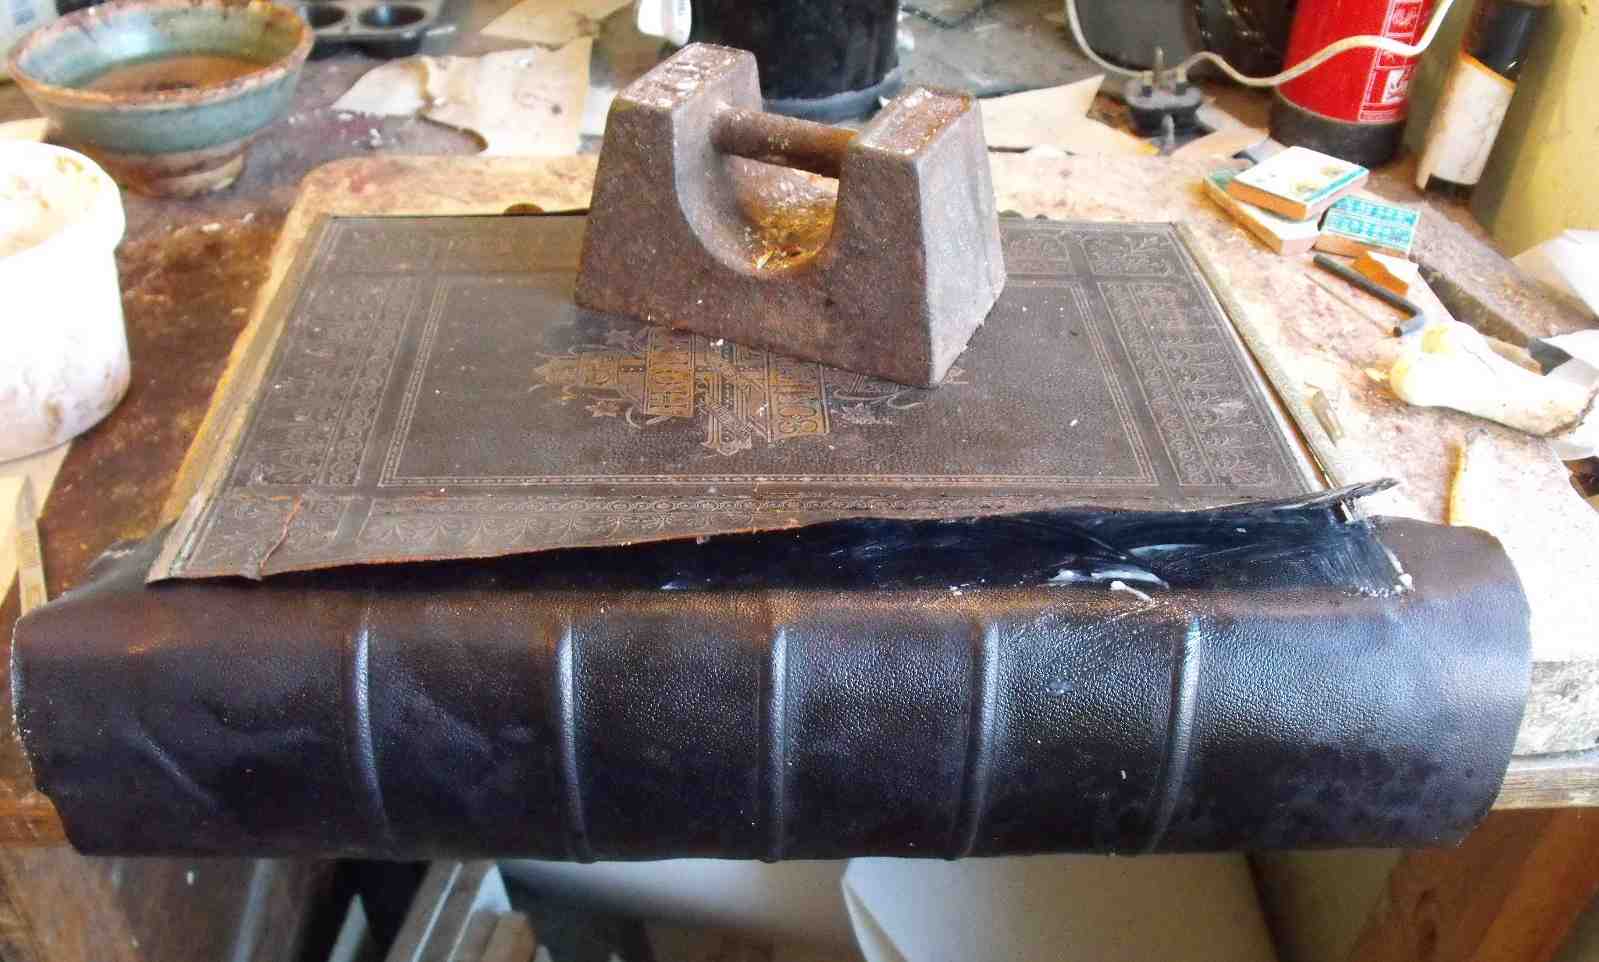
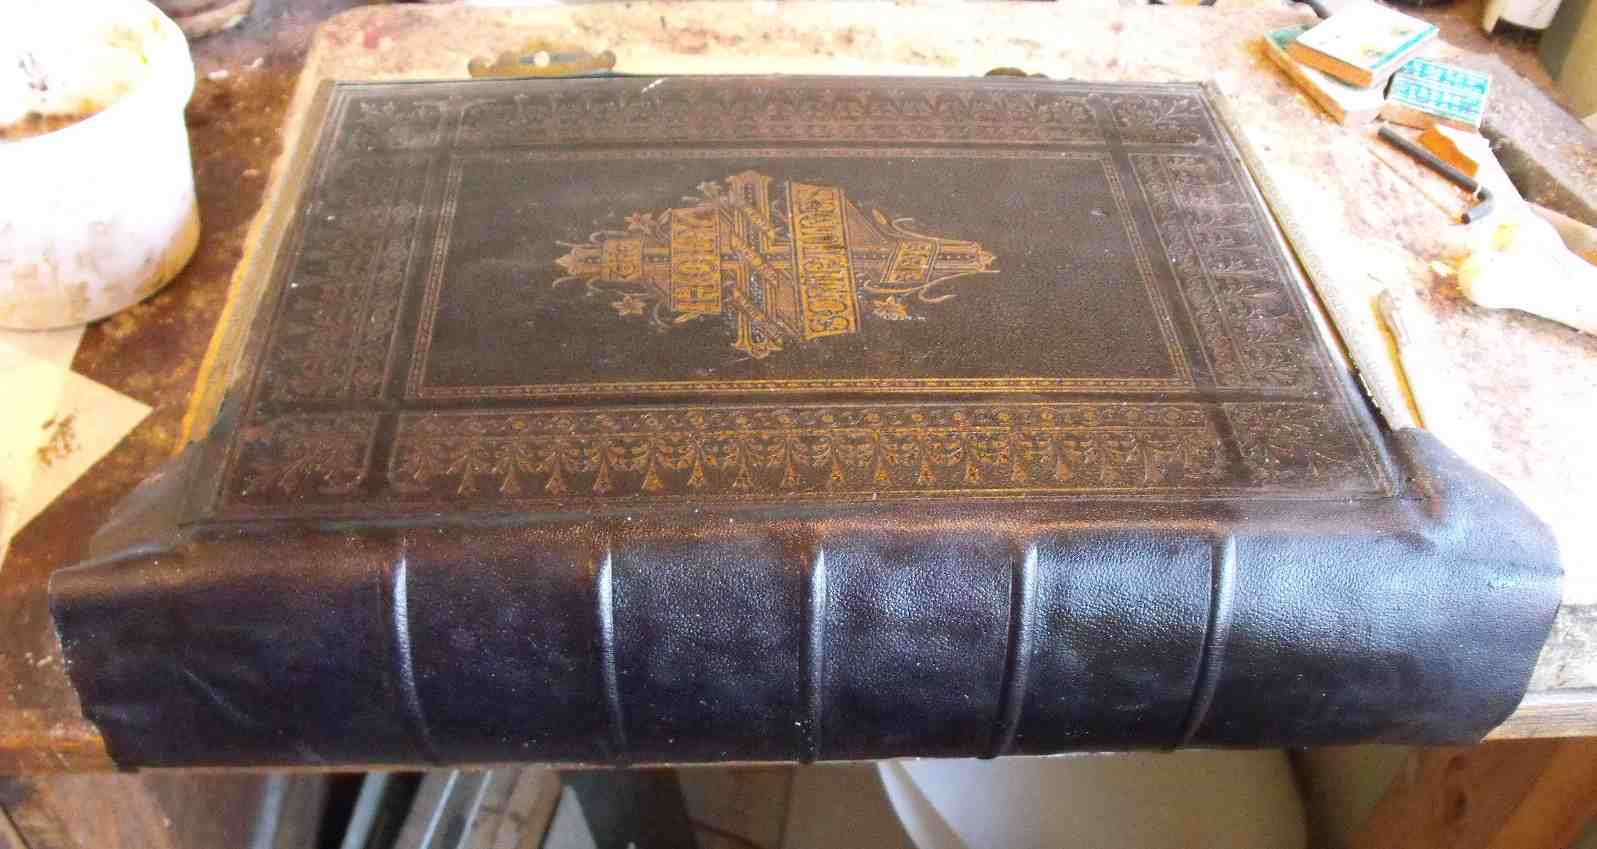
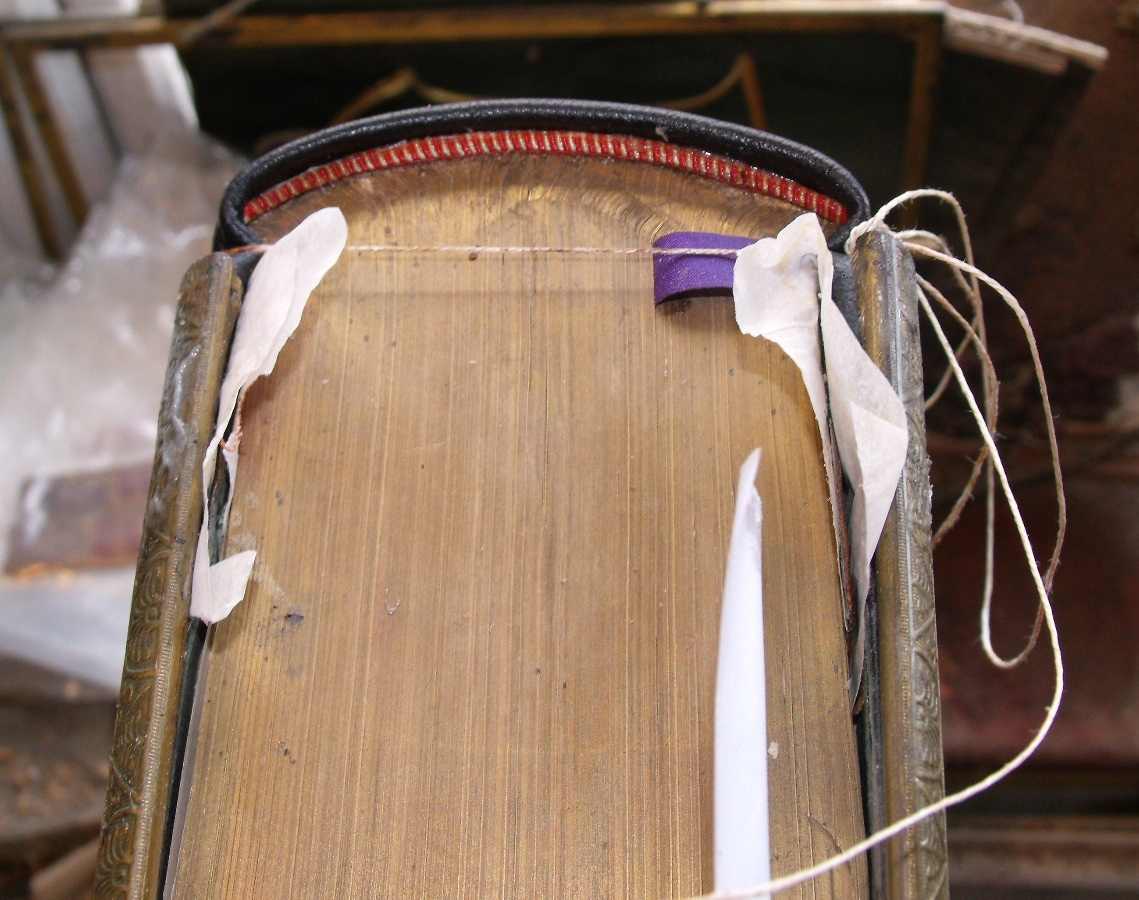
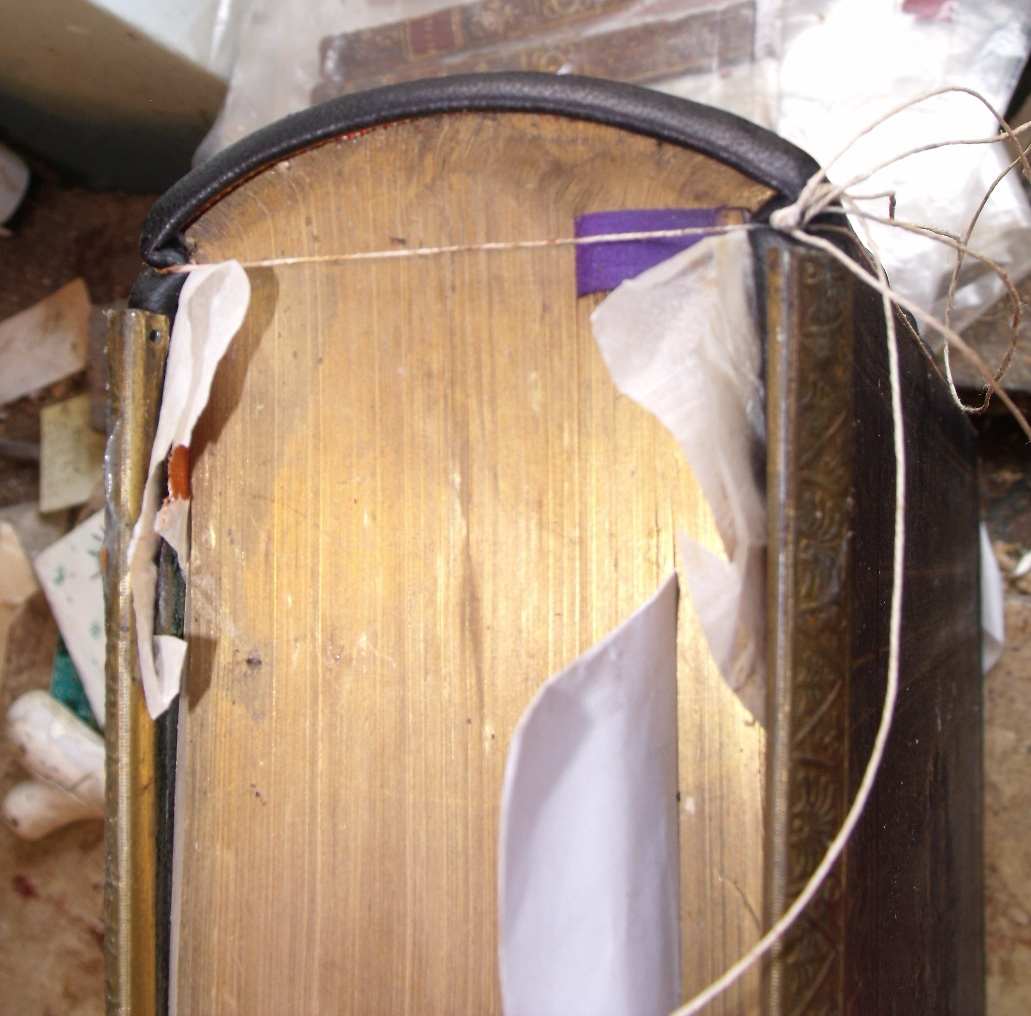
The text block is clamped into a press prior to removing the original spine. The original spine is removed. …and set aside. The back of the text block is cleaned of all the old adhesive and then re-glued and re-lined, with new headbands applied. This Bible has brass edging. The tiny nails holding the edging in place are prised out. …and the edging gently prised away from the edges of the covers. The edges of the leather on each cover are lifted. The new leather spine will be inserted under these edges. A piece of leather is cut to size and then prepared for use. …before being dyed to the correct colour. The new piece of leather is inserted under the lifted leather on each cover and drawn tightly over the raised bands on the spine. …and the lifted edges on each cover are then pasted down. Once the first part of the repair has dried, the new leather at the head and tail of the spine will be ‘turned in’. The leather is ‘turned in’. …and a flattened ‘headcap’ formed (repeated at the top and bottom of the spine). Once this stage of the repair is completed, the new spine looks like this.
Reusing the original spine
The remains of the original spine are then mounted onto the new one. The covers are re-attached using a reinforced linen joint to create a bond between the text block and covers that is stronger than the original cords that held the covers on. Before a further strip of coloured cloth to match the original internal cloth hinge is added for further strength and to make a neat repair. …which looks like this when completed. Areas where the gold tooling is missing and needs to be replaced are marked out and then prepared with a special adhesive. …before new gold tooling is applied. It is not viable to replicate the large decorative device in the middle of the spine panel. A set of tools would have to be cut specifically to match this design. But otherwise, all missing gold lines and standard decorations are re-tooled as required. The new tooling is then toned to blend in with the original gold work. …and finally, the small nails holding the brasswork are replaced and the brass edging attached back into position. Taking us from this…. To this.
If you are interested in having your Bible restored, please contact me for a price quotation either by email or by using the contact form.